

How to Paint Wood Dining Chairs: Step-by-Step
Yes, you can absolutely paint your wood dining chairs to give them a fresh new look! It’s a fantastic way to update your dining room without buying new furniture. With the right preparation and materials, you can achieve a durable, professional finish on your chairs.
Transforming old chairs can make a huge difference in your home’s style. Many people find this DIY project surprisingly satisfying. It’s a great weekend project that can completely change the feel of your space. You might even find you enjoy the process!
- Prep is key for a smooth finish.
- Choose the right paint for durability.
- Sanding and priming make a big difference.
- Allow proper drying time between coats.
- Sealing protects your painted chairs.
Ready to give those chairs a glow-up? Let’s walk through exactly how to paint your wood dining chairs, step by step.
Your Guide to Painting Wood Dining Chairs
Painting your wood dining chairs is a totally achievable DIY project. You can revitalize old furniture and bring a fresh look to your dining space. We’ve broken down the process into simple steps so you can get started with confidence. You’ll be amazed at the transformation!
Gathering Your Painting Supplies
Before you start, make sure you have everything you need. Having all your supplies ready makes the painting process much smoother. It’s like preparing ingredients before cooking a meal. This prevents frustrating interruptions later.
Essential Tools and Materials
You’ll need a few key items to get the best results. These aren’t super fancy, but they are important for a professional-looking finish. Think of these as your trusty painting sidekicks.
- Sandpaper (various grits: 120, 180, 220)
- Sanding block or orbital sander
- Wood filler (if needed)
- Tack cloth or microfiber cloths
- Painter’s tape
- Drop cloths or old newspapers
- Primer (water-based or oil-based)
- Paint (latex, chalk, or oil-based)
- Paintbrushes (angled and flat)
- Foam rollers (optional, for large flat areas)
- Topcoat or sealer (polyurethane, polycrylic, or wax)
Choosing the Right Paint and Primer
The type of paint you choose will affect the final look and durability. For dining chairs, you want something that can withstand daily use. Latex or acrylic paints are popular choices. They dry fast and clean up easily with soap and water.
Chalk paint offers a matte, vintage look. It often requires less prep work. However, it always needs a good topcoat for protection. Oil-based paints offer a very durable finish. They can have a stronger odor and require mineral spirits for cleanup.
Many experts recommend using a good quality primer. Primer helps your paint adhere better to the wood. It also hides imperfections and ensures a more uniform color. A water-based primer is usually a good match for latex or acrylic paints. An oil-based primer can be a great choice for tricky surfaces or dark existing finishes.
Preparing Your Dining Chairs for Painting
This is arguably the most important step. Proper preparation ensures your paint job lasts and looks fantastic. Skipping this can lead to peeling or an uneven finish. Let’s give those chairs the attention they deserve!
Cleaning the Chairs Thoroughly
Start by cleaning your chairs. You want to remove any dirt, grease, or grime. A mild detergent mixed with water works well. Use a damp cloth to wipe down the entire chair. Make sure to get into all the nooks and crannies.
Allow the chairs to dry completely. Any moisture left behind can affect how the primer and paint adhere. This is a simple step, but it makes a big difference in the final result.
Repairing Imperfections
Inspect your chairs for any damage. Look for dents, scratches, or small holes. Wood filler is your friend here. Apply it according to the product instructions. Smooth it out with a putty knife.
Once the wood filler is completely dry, you’ll need to sand it smooth. We’ll cover sanding in the next section. Addressing these issues now means a smoother, more professional finish later.
Sanding for Adhesion
Sanding is crucial for paint to stick well. It creates a slightly rough surface that paint can grip. Start with a medium-grit sandpaper, around 120-grit. This removes any old finish or glossy sealant.
Work your way to finer grits, like 180 or 220. This smooths out any sanding marks. Always sand in the direction of the wood grain. This helps prevent visible scratches. If you’re using an orbital sander, be sure to keep it moving to avoid creating deep gouges.
After sanding, wipe away all the dust. A tack cloth is ideal for this. It picks up even the finest dust particles. You want a clean surface before priming.
Priming Your Dining Chairs
Now it’s time to apply a coat of primer. As we mentioned, this helps your paint stick. It also ensures your final color looks true. A good primer hides imperfections and creates a uniform base.
Applying the Primer Coat
Use a good quality brush or a small foam roller for this. Apply a thin, even coat of primer. Don’t try to cover everything in one thick layer. It’s better to apply two thin coats than one heavy one.
Ensure you get into all the crevices. Pay attention to areas where the wood might show through. Allow the primer to dry completely according to the manufacturer’s instructions. This usually takes a few hours.
Lightly sand the primed surface with a fine-grit sandpaper (220-grit). This smooths out any brush strokes or imperfections. Wipe away the dust again with a tack cloth. You’re creating a perfect canvas for your paint.
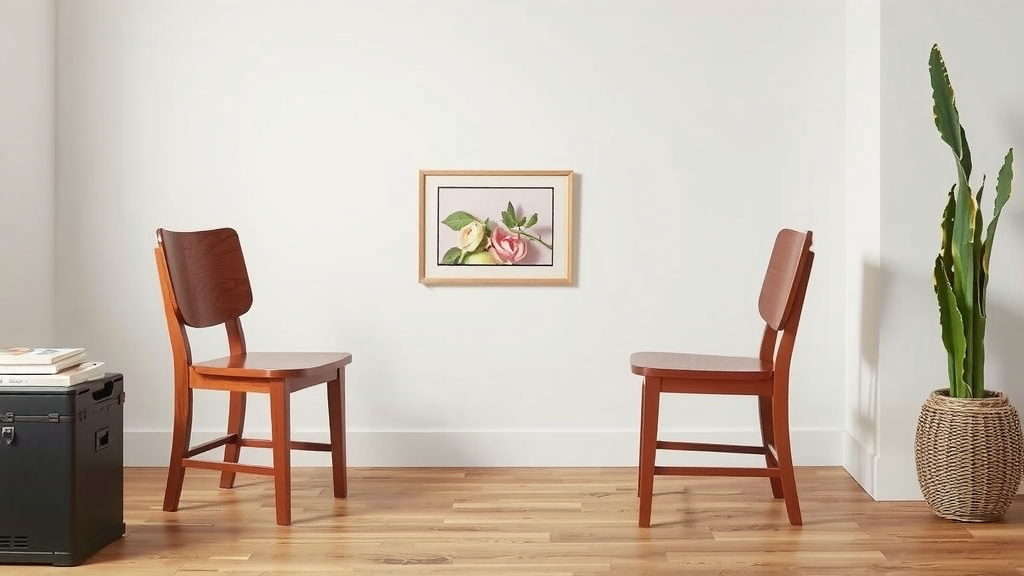
Painting Your Chairs: Color and Coats
This is where the fun really begins! You’ve done all the prep work, and now you get to add your chosen color.
Applying the First Coat of Paint
Stir your paint well before you start. Don’t shake it, as this can create air bubbles. Use a good quality paintbrush. An angled brush is great for getting into corners and details. A flat brush works well for larger surfaces.
Apply a thin, even coat of paint. Start with the more detailed areas, then move to the larger surfaces. Avoid overloading your brush. Too much paint can lead to drips and an uneven finish.
Let this first coat dry completely. Drying times vary depending on the paint type and humidity. Check the paint can for recommendations. Patience here prevents smudging or lifting the paint.
Adding Subsequent Coats
Most projects require at least two coats of paint. Some darker colors might need a third. Apply additional thin coats, allowing each to dry thoroughly.
Between coats, you can lightly sand if you notice any bumps or imperfections. Again, use a very fine-grit sandpaper (220 or higher). Always wipe away the dust with a tack cloth. This ensures a super smooth finish.
Sealing and Protecting Your Painted Chairs
The final step is to seal your chairs. This protects the paint job from scratches and wear. It’s especially important for furniture that gets a lot of use, like dining chairs.
Applying a Protective Topcoat
Choose a clear topcoat suitable for your paint type. Polyurethane, polycrylic, or furniture wax are common choices. Polycrylic is often recommended for painted furniture because it doesn’t yellow over time.
Apply the topcoat in thin, even layers. Use a clean brush or foam applicator. Again, avoid applying too much at once. Multiple thin coats are better than one thick one. This protects the paint without making it look cloudy or gloopy.
Allow each coat of sealant to dry completely. Light sanding with a very fine-grit paper between coats can give an even smoother finish. However, many people skip this for topcoats.
Consider the finish you want. Some sealants provide a matte finish, while others offer a satin or glossy sheen. This is your chance to customize the final look.
Curing Time for Durability
Most paints and sealants need time to fully cure. This is when they reach their maximum hardness and durability. While the chairs might feel dry to the touch much sooner, they are still vulnerable.
Many manufacturers recommend waiting several days, or even weeks, before placing heavy items on or aggressively cleaning the surface. Read the product labels carefully. Proper curing ensures your beautiful new finish stands up to everyday life.
A Quick Checklist for Your Project:
- Clean chairs thoroughly.
- Sand and wipe away dust.
- Apply thin, even coats of primer.
- Paint with thin, even coats.
- Apply thin, even coats of sealer.
- Allow adequate curing time.
Conclusion
You’ve got this! Painting your wood dining chairs is a rewarding project that breathes new life into your home. Remember, success hinges on careful preparation, quality materials, and a little patience. By cleaning, sanding, priming, painting, and sealing properly, you’ll achieve a beautiful, durable finish. Your dining room will thank you for the fresh, personalized update. Now, grab your brushes and get ready to transform those chairs!
Frequently Asked Questions
How long do painted dining chairs typically last?
With proper preparation and a good quality topcoat, your painted dining chairs can last for many years. Regular light cleaning will help maintain the finish. Avoid harsh chemicals, as they can degrade the paint and sealant over time.
Can I paint chairs with an existing finish without sanding?
While some chalk paints claim to require no sanding, research and found that light sanding is always recommended for optimal adhesion. Skipping sanding increases the risk of paint chipping or peeling, especially on a high-use item like a dining chair.
What’s the best way to clean painted chairs?
For regular cleaning, use a soft cloth dampened with mild soap and water. Wipe down the chairs gently to remove dust and spills. For tougher grime, you might need a bit more elbow grease, but avoid abrasive scrubbers or strong cleaning solutions.
How many coats of paint do I really need?
Most projects benefit from at least two thin coats of paint. Some lighter colors applied over a dark base, or vice-versa, might require a third coat for full, even coverage. Always allow each coat to dry completely before applying the next.
Should I paint the bottom of the chair legs?
Yes, you should paint the entire chair, including the bottom of the legs. This ensures a consistent look and provides protection to all surfaces. Applying a topcoat to the entire chair will offer the best durability against scuffs and wear.
![7 Best Upholstery Fabric For Dining Room Chairs [2026]](https://seatvit.com/wp-content/uploads/2026/06/7-best-upholstery-fabric-for-dining-room-chairs-2026-featured-768x432.jpg)

![7 Best Dining Chairs [2026]](https://seatvit.com/wp-content/uploads/2026/06/7-best-dining-chairs-2026-featured-768x432.jpg)

![7 Best Inexpensive Dining Chairs [2026]](https://seatvit.com/wp-content/uploads/2026/06/7-best-inexpensive-dining-chairs-2026-featured-768x432.jpg)
