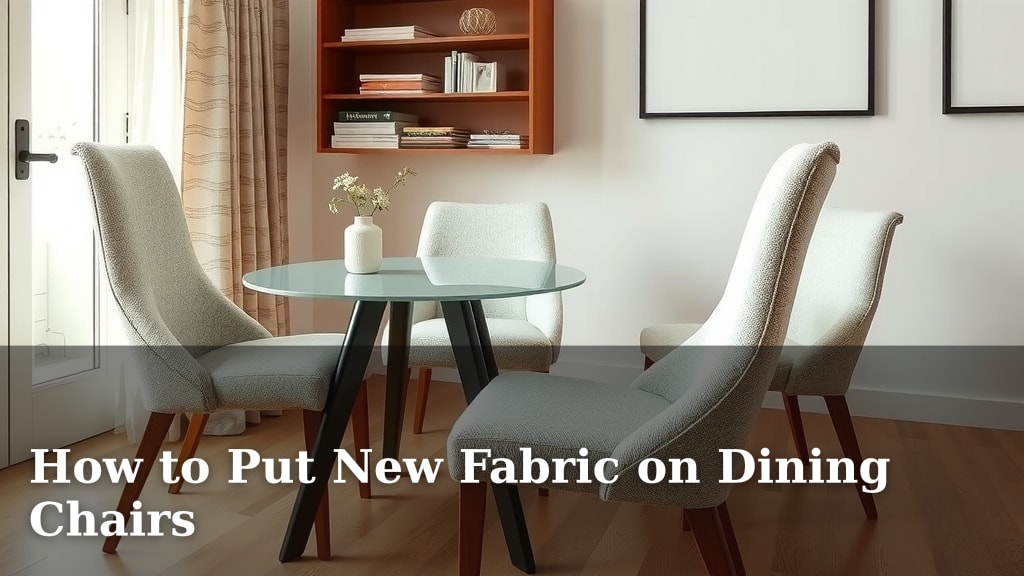
How to Put New Fabric on Dining Chairs
You can absolutely put new fabric on dining chairs yourself! It’s a rewarding DIY project that can give your dining room a fresh look without needing professional help. With a few basic tools and a bit of patience, you can easily reupholster dining chairs and breathe new life into your furniture.
This project is a fantastic way to save money and customize your decor. You get to choose your own fabric, making sure it perfectly matches your style and existing furnishings. Many people find reupholstering chairs to be simpler than they expect, especially when following clear steps.
- Gather your new fabric, staple gun, and screwdriver.
- Remove the old fabric and any existing staples.
- Cut your new fabric to size, allowing extra for stretching.
- Secure the new fabric tightly with the staple gun.
- Reattach the seat back to the chair frame.
Below, we’ll walk you through each step to help you successfully put new fabric on your dining chairs.
Giving Your Dining Chairs a Makeover: A Step-by-Step Guide
Ready to ditch that worn-out upholstery? Putting new fabric on your dining chairs is a totally achievable DIY project. You’ll be amazed at how a fresh fabric can transform your dining space. Let’s get started!
Gathering Your Supplies: The Reupholstery Toolkit
Before you dive in, make sure you have everything you need. Having all your tools ready will make the process much smoother. Think of it like preparing for a cooking marathon – mise en place!
Essential Tools for Your Project
You won’t need a professional upholstery shop. Most items are likely already in your home or easy to find. We’ve put together a list to ensure you’re well-equipped.
- New fabric (enough for all your chairs, plus a little extra)
- Heavy-duty staple gun and staples
- Screwdriver (flathead or Phillips, depending on your chair)
- Scissors or a rotary cutter
- Measuring tape
- Pliers (for staple removal)
- Optional: New batting or foam if your old padding is worn out
- Optional: A utility knife for trimming excess fabric
Choosing the Right Fabric
This is where the fun really begins! Your fabric choice sets the tone for your dining room. Consider durability, style, and how easy it is to clean. For dining chairs, you’ll want a fabric that can withstand frequent use. Many sources suggest fabrics with a high rub count for longevity (Good Housekeeping Institute).
Think about patterns versus solids, textures, and colors. A durable cotton blend or a performance fabric can be excellent choices. Make sure you buy enough fabric – it’s better to have a little extra than to run short mid-project.
Removing the Old Upholstery: Unveiling the Past
This step is like being a detective, uncovering what’s underneath. You’ll want to carefully remove the old fabric to use as a template and to get a clean surface for your new material.
Detaching the Seat from the Chair
Most dining chair seats are attached with screws from underneath the seat frame. You’ll need your screwdriver for this. Flip the chair over and locate the screws holding the seat in place. Unscrew them carefully and set the seat aside. Keep these screws safe!
Stripping Away the Old Fabric and Staples
Once the seat is free, you’ll tackle the fabric. Use your pliers to gently pull out any existing staples. You might find quite a few! Work your way around the entire seat, removing all the old staples. If the fabric is attached with staples, you’ll need to remove them all for a neat finish. If there’s an under-layer of fabric (like a dust cover), remove that too. We found that sometimes a flathead screwdriver can help lift stubborn staples.
Preparing Your New Fabric: The Blueprint for Success
Now it’s time to get your new fabric ready. This is where you’ll create the template for your reupholstery.
Using the Old Fabric as a Pattern
Lay your old fabric flat on a large surface. If it’s in too many pieces, try to find the largest section. Place your new fabric on top, right side down. Now, lay the old fabric piece on top of the new fabric, lining it up as best as you can. This will help you cut the new fabric to the correct size.
Cutting Your New Fabric: Allowing for ‘Grapevine’
This is a critical step for a taut finish. You want to cut your new fabric large enough to wrap around the edges of the seat and be stapled underneath. We found that adding about 3-4 inches of extra fabric all the way around the seat is usually sufficient (DIY Decorating Blog). This extra material is called ‘grapevine’ and allows you to pull the fabric taut as you staple.

Attaching the New Fabric: The Grand Reveal
This is the most satisfying part of the process! It’s where your chair truly gets its new look. You’ll be using your staple gun to secure the fabric.
Securing the Fabric: Pulling Tight is Key
Place your seat upside down on top of the wrong side of your new fabric. Start by loosely attaching the fabric in the center of one edge with a staple. Then, move to the opposite edge and pull the fabric taut before stapling it in the center. This creates tension and prevents wrinkles. Repeat this on the remaining two sides, always pulling the fabric tight.
Working Your Way Around the Edges
Continue stapling around the perimeter, working from the center outwards. Pull the fabric firmly as you staple. You want the fabric to be smooth and wrinkle-free on the top surface. Space your staples about 1 inch apart for a secure hold. We found that using the staple gun’s power setting can make a big difference for thicker fabrics.
Tackling the Corners with Precision
Corners can be a bit tricky. Fold the fabric neatly at each corner, creating a crisp pleat or a diagonal fold, similar to wrapping a gift. Pull the fabric tight and secure it with several staples. You can trim any excess fabric at the corners if needed, but make sure you have enough to get a good staple line. Many tutorials suggest a simple hospital corner fold for a clean look.
Reattaching the Seat: The Finishing Touches
You’re almost done! Just a few more steps to bring your beautifully reupholstered chair back to life.
Reconnecting the Seat to the Chair Frame
Carefully place the newly upholstered seat back onto the chair frame. Align the screw holes. Insert the screws you saved earlier and tighten them securely with your screwdriver. Make sure the seat is firmly attached and doesn’t wobble.
Admire Your Handiwork!
Step back and take a look. You’ve just reupholstered your own dining chair! Doesn’t it look fantastic? This is a skill that will serve you well for future furniture refreshes.
Quick Reupholstery Checklist
- Remove seat from chair frame.
- Carefully remove old fabric and staples.
- Cut new fabric with ample extra material.
- Start stapling from the center of opposite sides.
- Pull fabric taut to avoid wrinkles.
- Secure corners neatly and reattach seat.
Conclusion
You’ve now seen that reupholstering your dining chairs is absolutely within your reach. By following these steps, you can transform worn-out seats into stunning centerpieces for your dining room. Remember, patience and attention to detail are your best friends here. Don’t be afraid to pull that fabric taut for a professional look. Your next step? Choose that perfect fabric and gather your tools. You’re ready to give your chairs a beautiful, budget-friendly makeover!
Frequently Asked Questions
How much fabric do I need for one dining chair seat?
For most standard dining chair seats, you’ll want about half a yard of fabric. It’s always a good idea to buy a bit extra to account for any pattern matching or if you need to re-cut. Always measure your seat and add the ‘grapevine’ allowance discussed in the article.
What if my chair padding is worn out? Can I replace it?
Yes, you can! If your existing foam or batting is flattened or damaged, you can easily replace it. You’ll want to remove the old padding along with the old fabric. Then, cut a new piece of foam or add fresh batting to match the seat’s size before attaching your new fabric.
What’s the best type of fabric for dining chairs?
For dining chairs, durability and stain resistance are key. We found that high-performance fabrics, tightly woven cotton blends, or even outdoor fabrics can be excellent choices. Look for fabrics with a higher rub count to ensure they hold up well against daily use.
How do I get a smooth finish on the fabric?
Achieving a smooth finish comes down to tension. Start by stapling the fabric in the center of opposite sides, pulling the fabric very taut between each staple. Continue working outwards from the center, always pulling the fabric firmly across the seat before securing it with staples.
My corners look messy. What’s the secret to neat corners?
Neat corners take a little practice! Think of it like wrapping a gift. You can create a neat pleat or a diagonal fold. Pull the fabric tight, and secure it with several staples. Trim excess fabric if necessary, but make sure you still have enough material for a strong staple line around the edge.