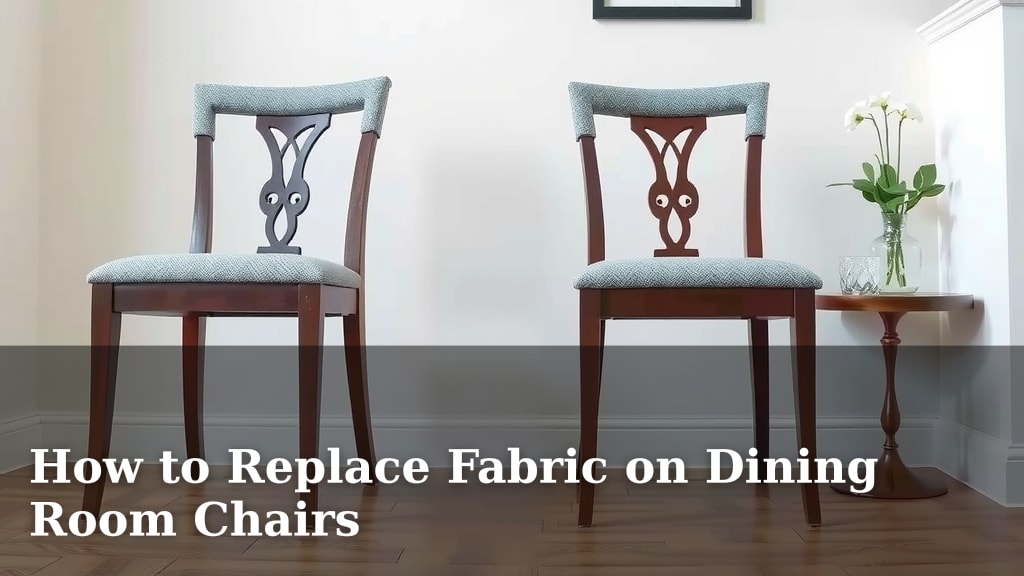
How to Replace Fabric on Dining Room Chairs
Yes, you can absolutely replace the fabric on your dining room chairs yourself! It’s a fantastic way to revitalize your old furniture without a huge expense. You’ll be surprised how straightforward this DIY project can be with a few basic tools and a little patience.
Giving your dining chairs a makeover can completely change the feel of your dining space. Whether your current fabric is worn out, stained, or just out of style, a refresh is often easier than you think. Many homeowners find this a rewarding weekend project that adds a personal touch to their home.
- Start by removing the old fabric and foam.
- Choose a durable, attractive new fabric.
- Cut the new fabric to size, allowing for overlap.
- Use a staple gun to attach the new fabric tightly.
- Reassemble the chair seat and legs.
Ready to give those tired chairs a new lease on life? Let’s walk through exactly how to do it, step by step, so you can enjoy your beautifully updated dining set.
Refreshing Your Dining Chairs: A DIY Fabric Swap
Giving your dining room chairs a fresh look doesn’t have to be a daunting task. With a bit of planning and the right tools, you can easily replace the fabric on your dining chair seats. This project is perfect for breathing new life into tired furniture, saving you money, and adding a personal touch to your home décor.
Gathering Your Essential Supplies
Before you dive into the project, let’s make sure you have everything you need. Having all your supplies ready makes the process much smoother and more enjoyable. Think of this as your DIY upholstery toolkit.
The Right Fabric Choice
Selecting the perfect fabric is key. You want something that looks good and can withstand the daily wear and tear of dining. For dining chairs, durability is important. Look for fabrics labeled for upholstery or heavy use. Cotton blends, polyester, or even vinyl can be great options.
Consider the color and pattern. Will it complement your existing décor? Will it hide minor spills? Many experts suggest choosing a fabric with a bit of texture or a subtle pattern, as these tend to mask small stains better than solid, light colors (Good Housekeeping Institute).
Essential Tools for the Job
You won’t need a professional upholstery shop for this. Most of what you need can be found at your local hardware or craft store. Here’s what to have on hand:
- Staple gun (electric or heavy-duty manual) and staples
- Utility knife or strong scissors for cutting fabric
- Screwdriver set (Phillips and flathead)
- Pliers (needle-nose or standard) to remove old staples
- Measuring tape
- New upholstery fabric (enough for all your chairs)
- Optional: New foam or batting if the old is worn out
- Optional: Spray adhesive for securing foam
Step-by-Step Fabric Replacement Process
Now that you’re all prepped, let’s get started on your chairs. We’ll tackle this one chair at a time. You’ll be amazed at how quickly you get the hang of it.
Removing the Old Fabric and Padding
This is where you get to see what’s underneath! First, you’ll need to remove the chair seat from the base. Most chair seats are attached with screws from the underside. Find them and carefully unscrew the seat.
Once the seat is off, flip it over. You’ll see the old fabric stapled to the underside of the seat base. Use your pliers to carefully pull out all the old staples. It can be helpful to gently lift the fabric as you go to see where it was stapled. Don’t worry if the fabric tears; that’s expected.
If your chairs have foam padding, remove that too. If it’s still in good shape, you can potentially reuse it. If it’s flattened or damaged, it’s a great time to replace it with new foam or batting. You can secure new foam with spray adhesive if needed.
Measuring and Cutting Your New Fabric
This step is crucial for a neat finish. Lay your old fabric (or the seat base itself) onto your new fabric. Ensure the new fabric is smooth and free of wrinkles.
You need enough fabric to wrap around the edges of the seat and staple securely underneath. We recommend adding at least 4-6 inches of extra fabric on all sides. This overlap is your working room. For example, if your seat is 18×18 inches, aim for a piece of fabric at least 26×26 inches.
Cut the fabric carefully using sharp scissors or a utility knife. A clean cut makes for a much tidier final result.
Attaching the New Fabric: The Stapling Stage
This is where your chair really starts to transform! Center the seat base upside down on the wrong side of your new fabric. Start by pulling the fabric taut across one edge and securing it with a staple in the middle.
Then, move to the opposite side. Pull the fabric tightly across the seat and staple it in the middle. It’s essential to keep the fabric smooth and wrinkle-free on the top side. Repeat this process for the remaining two sides.
Now, work your way around the edges. Continue pulling the fabric taut and placing staples about every 1-2 inches. Pay close attention to the corners. Fold the fabric neatly, like wrapping a gift, to create a clean, flat edge before stapling. You want the fabric to be drum-tight, with no sagging.
Tackling Tricky Corners
Corners can be a bit challenging. Start by pulling the fabric straight up on one side of the corner, then fold the excess fabric on the adjacent side to create a neat pleat. Staple this pleat securely. Some people find it helpful to make a small diagonal cut in the fabric at the corner to help it lay flat.
Reattaching the Seat and Finishing Up
Once all the fabric is securely stapled, trim any excess fabric that might hang too low. Then, reattach the newly upholstered seat to the chair base using your screws. Make sure it’s snug and secure.
Stand back and admire your work! You’ve successfully given your dining chairs a beautiful refresh. This DIY upholstery project is incredibly satisfying, and your dining room will thank you for it.

Quick Checklist for Your Fabric Swap
Here’s a quick rundown to ensure you don’t miss a step:
- Remove chair seat from base.
- Remove old fabric and staples.
- Measure and cut new fabric with extra for overlap.
- Center new fabric and staple, pulling taut.
- Neatly fold and staple corners.
- Reattach seat and enjoy!
Conclusion
You’ve now seen how achievable replacing your dining chair fabric can be. It’s a project that truly transforms your space without breaking the bank. Remember to take your time, especially with measuring and stapling. You’ve got the steps to create a fresh, personalized look for your dining set. Your newly upholstered chairs will be a source of pride. Start gathering your supplies today and give those chairs the facelift they deserve!
Frequently Asked Questions
How much fabric do I actually need for one chair seat?
A good rule of thumb is to add at least 4-6 inches of fabric to all sides of your chair seat. This ensures you have enough overlap for secure stapling. For an 18×18 inch seat, aim for a piece about 26×26 inches.
What if my chair has a wood or vinyl seat instead of fabric?
The process is very similar for seats with a thin layer of padding over wood or vinyl. You’ll still remove the old material, measure and cut your new fabric, and staple it underneath. The key is to ensure a smooth, tight finish.
Can I use a regular household staple gun for this project?
While a heavy-duty manual or electric staple gun is recommended for best results, a standard one might work for thinner fabric or less dense padding. You may need to push staples in firmly with pliers if they don’t go in all the way.
My new fabric has a pattern. How do I make sure it lines up properly?
If your fabric has a distinct pattern or stripe, you’ll need to pay extra attention during the measuring and cutting phase. Lay the fabric out carefully and ensure the pattern is centered before you cut. When stapling, try to keep the pattern consistent across the top surface.
What’s the best way to get a smooth, wrinkle-free finish on top?
Pull the fabric very taut as you staple, starting from the center of each side and working your way out. Smooth the fabric with your hands as you go. Avoid bunching or pulling too hard on just one corner, which can create wrinkles elsewhere.
![7 Best Paint For Dining Chairs [2026]](https://seatvit.com/wp-content/uploads/2026/06/7-best-paint-for-dining-chairs-2026-featured-768x432.jpg)