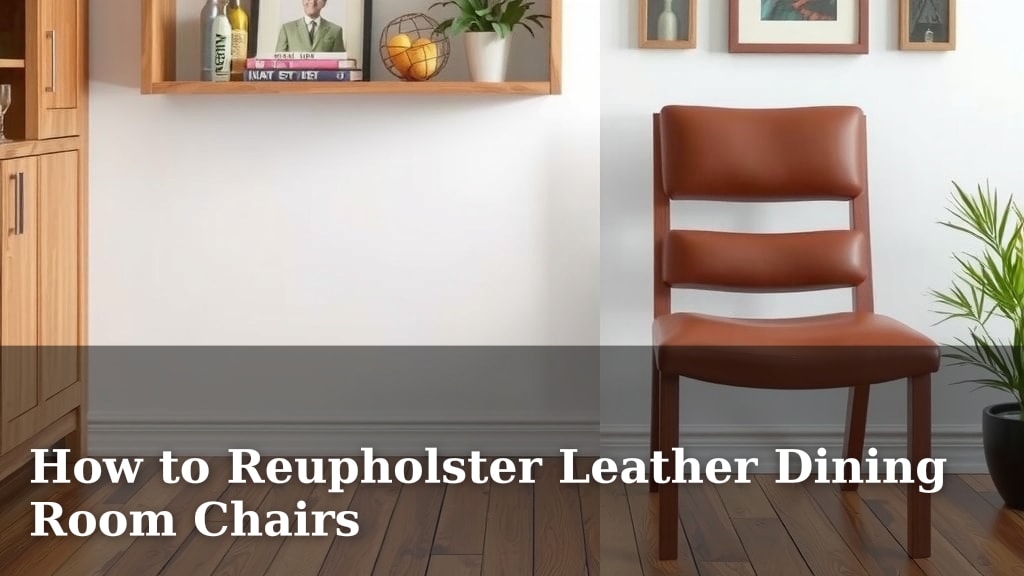
How to Reupholster Leather Dining Room Chairs
Yes, you can absolutely reupholster your leather dining room chairs yourself! It’s a fantastic way to refresh your dining space without the high cost of professional services. With some basic tools and patience, you can give your old chairs a beautiful new look and extend their lifespan significantly.
Reupholstering is more than just a DIY project; it’s an eco-friendly choice that reduces waste. You get to pick the perfect fabric that matches your style. Plus, it’s a rewarding way to learn a new skill and save a good chunk of money.
- Gather your tools and materials first.
- Carefully remove the old fabric and padding.
- Cut your new fabric to the correct size.
- Staple the new fabric securely in place.
- Reassemble your chair seat.
Ready to transform those tired dining chairs? Let’s walk through exactly how to reupholster them step by step.
Revamping Your Dining Chairs: A DIY Reupholstery Guide
Giving your dining chairs a fresh new look doesn’t have to involve a hefty price tag. You can absolutely tackle reupholstering them yourself! It’s a rewarding project that can save you money and give your dining room a whole new vibe. We’re here to guide you through each step, making it feel less daunting.
Gathering Your Essential Supplies
Before you start, having all your tools and materials ready is key. This prevents frustrating interruptions mid-project. Think of it like a chef prepping ingredients before cooking a meal.
Fabric Selection: More Than Just Pretty
Choosing the right fabric is important for both looks and durability. For dining chairs, you want something that can withstand spills and frequent use. Many designers recommend fabrics like leather, vinyl, or tightly woven synthetic blends for their ease of cleaning (Designers Resource Association). These materials are generally more resistant to stains and wear and tear.
Tools You’ll Need
You won’t need a professional upholstery shop, but a few key tools will make the job much easier. Having these on hand ensures a smoother process.
- Staple Gun: A heavy-duty staple gun is essential for attaching the new fabric.
- Staple Remover or Flathead Screwdriver: For carefully prying out old staples.
- Scissors or Rotary Cutter: Sharp scissors are needed to cut your fabric precisely.
- Measuring Tape: For accurate fabric measurements.
- Work Gloves: To protect your hands from splinters and staples.
- Screwdriver Set: To remove chair legs or base components if necessary.
- Optional: New Padding/Batting: If your old padding is flattened or damaged, consider replacing it.
Disassembling Your Dining Chair Seat
The first step is to carefully remove the seat from the chair frame. Most dining chair seats are attached with screws from underneath. You might also need to remove the legs depending on the chair’s construction.
Removing the Old Upholstery
Once the seat is free, it’s time to remove the existing fabric. This is where your staple remover or flathead screwdriver comes in handy. Work slowly and deliberately to avoid damaging the chair frame underneath.
Gently pry up the edges of the old fabric. You’ll find staples holding it in place. Remove as many staples as possible. Sometimes, old staples can be tricky to find or remove. Don’t worry if a few remain; you can often cover them with new padding.
Dealing with Padding and Foam
Inspect the padding underneath the fabric. If it’s still in good condition – firm and not crumbly – you can often reuse it. If it’s flattened, torn, or smells musty, it’s best to replace it. You can purchase upholstery foam from a craft store or fabric shop.
Preparing and Cutting Your New Fabric
This is where your chair starts to get its new personality! Measure your old fabric, if possible, to get a general idea. However, it’s best to measure the seat itself.
Measuring for Your New Fabric
Lay your new fabric right-side down on a clean, flat surface. Place the chair seat upside down on top of the fabric. Ensure the fabric is centered on the seat. You’ll want enough fabric to wrap around the edges and be stapled securely to the underside of the seat.
A good rule of thumb is to add about 3-4 inches of excess fabric on each side of the seat. This extra material is crucial for a tight, neat finish. If your seat is round, make sure you have enough to pull around the curve smoothly.
Cutting the Fabric
Using your sharp scissors or rotary cutter, carefully cut the fabric. Follow the measurements you’ve determined. It’s always better to have a little too much fabric than too little. You can trim excess later, but you can’t add more if you cut too short.
Attaching the New Upholstery
Now for the most satisfying part: stapling on the new fabric! This requires a firm, steady hand to achieve a professional look.
Starting the Stapling Process
Begin by placing the fabric on the seat, ensuring it’s smooth and centered. Start by placing a single staple in the middle of one side, pulling the fabric taut as you do. Then, move to the opposite side and pull the fabric tightly across the seat before placing another staple in the middle.
Working Your Way Around
Continue this process on all four sides. Pull the fabric taut and secure it with a staple in the middle of each side. Then, work outwards from the center staples, adding more staples about every 1-2 inches. This helps prevent wrinkles and ensures the fabric is evenly distributed.
Managing Corners and Curves
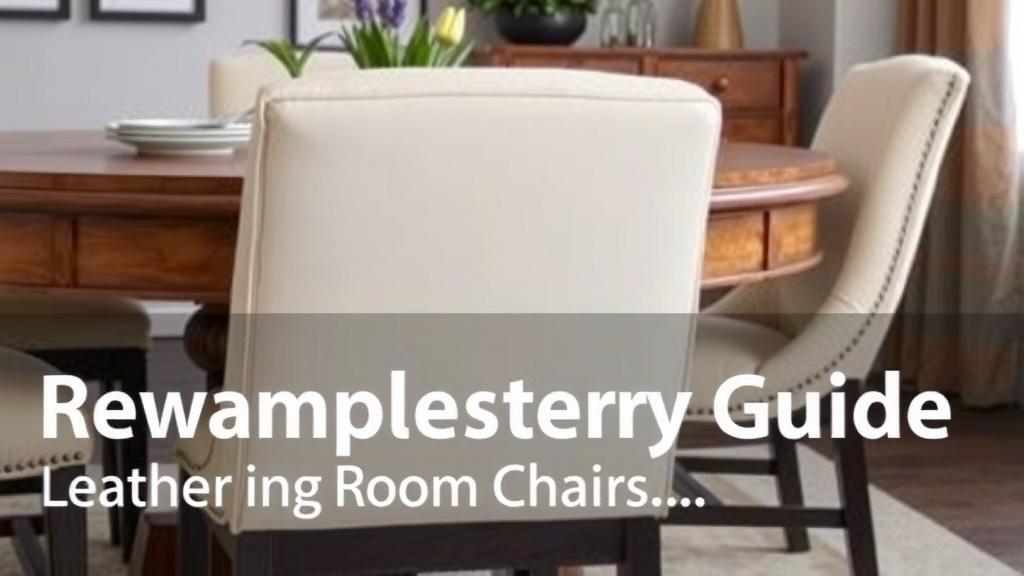
Corners and curves require a little extra attention. For corners, you’ll want to create neat pleats. Fold the excess fabric into a crisp pleat on each side of the corner, then pull it taut and staple it down securely. Many guides suggest making a small dart or fold to manage bulk (Home Decorating Institute). For curves, continue pulling the fabric smoothly and stapling as you go, adjusting the fabric to avoid puckering.
Final Touches and Reassembly
Almost there! A few final steps will bring your newly reupholstered chairs back to life.
Trimming Excess Fabric
Once you’re happy with how the fabric is secured, use your scissors to trim away any excess fabric from the underside of the seat. Leave enough to cover the staples, but remove any large, bulky pieces that might be visible.
Reattaching the Seat and Legs
Now, reattach the seat to the chair frame using the screws you removed earlier. If you removed the legs, reattach them securely. Give the chair a gentle wiggle to make sure everything is sturdy and stable.
Admire Your Work!
Step back and admire your handiwork! You’ve successfully transformed your dining chairs with new upholstery. It’s a fantastic way to refresh your home and feel a sense of accomplishment.
Quick Reupholstery Checklist:
- Remove seat from chair frame.
- Carefully remove old staples and fabric.
- Cut new fabric with ample overlap.
- Start stapling from the center, pulling fabric taut.
- Pleat corners neatly and staple securely.
- Reattach seat and legs to the chair.
Conclusion
You’ve now seen just how achievable reupholstering your leather dining room chairs can be! By following these steps, you’re not just updating your furniture; you’re saving money and reducing waste. This DIY project allows you to personalize your space with a look you’ll love for years to come. Don’t hesitate to try it out – your dining room will thank you.
The next step is simple: gather your supplies and choose that perfect fabric. You’ve got this!
Frequently Asked Questions
How much fabric do I need to reupholster a dining chair seat?
Generally, you’ll need about 1/2 to 1 yard of fabric per chair seat, depending on the seat size and any pattern matching required. Always buy a little extra to account for mistakes or tricky curves.
What kind of fabric is best for dining chair seats?
For dining chairs, durable and easy-to-clean fabrics are ideal. Leather, vinyl, faux leather, or tightly woven synthetic blends like polyester or microfiber hold up well against spills and frequent use.
Do I need to replace the padding if it’s a little flat?
If your existing padding is still firm and free of tears or odors, you can often reuse it. If it’s noticeably flattened, crumbly, or has an unpleasant smell, it’s a good idea to replace it with new upholstery foam for a more comfortable seat.
What if my chairs have piping or welting on the seat edges?
Adding piping requires an extra step where you create or purchase cording and attach it along the seam before stapling the main fabric. It adds a polished look but does increase the difficulty slightly.
Can I reupholster the entire chair, not just the seat?
Yes, you can reupholster the entire chair, but it’s a much more complex project involving dismantling the chair frame and handling curved surfaces and often more intricate details. For beginners, focusing on just the seat is a great starting point.
![7 Best Paint For Dining Chairs [2026]](https://seatvit.com/wp-content/uploads/2026/06/7-best-paint-for-dining-chairs-2026-featured-768x432.jpg)