
How to Sand Dining Chairs: Prep Guide
The easiest way to sand dining chairs involves a few simple steps to ensure a smooth, paint-ready surface. You’ll want to gather your supplies and choose the right sandpaper grit for the job. This process makes them perfect for a fresh coat of paint or stain.
Preparing your dining chairs for sanding means protecting your workspace and understanding the type of finish you’re working with. We found that the right preparation prevents frustration and leads to a much better final look. It’s all about setting yourself up for success!
- Gather sandpaper (various grits), primer, paint or stain, brushes, and drop cloths.
- Clean chairs thoroughly to remove dirt and grease.
- Sand in the direction of the wood grain.
- Wipe away dust before applying any new finish.
Ready to give those chairs a makeover? Let’s walk through exactly how to sand your dining chairs step by step.
Getting Your Dining Chairs Ready for a Smooth Sanding
Sanding your dining chairs doesn’t have to be a dreaded chore. With a little prep work, you can achieve a beautifully smooth finish. Our research shows that proper preparation is the key to success. It helps prevent frustration and ensures your chairs look fantastic. Let’s dive into how to get them ready.
Essential Supplies for Sanding Chairs
Before you begin, gather your tools. Having everything at hand makes the process much smoother. You’ll want sandpaper in a few different grits, some cleaning supplies, and something to protect your workspace.
Choosing the Right Sandpaper
The type of sandpaper you use depends on the chair’s current finish. For rougher surfaces or stripping old paint, start with a coarser grit, like 60 or 80. Once you’ve smoothed out the bumps, move to a medium grit, such as 120 or 150. Finally, for that super smooth feel, finish with a fine grit, like 220.
We found that using a progression of grits is essential. Jumping straight to fine grit won’t remove imperfections effectively. Think of it like this: you wouldn’t try to polish a rough stone with a soft cloth. Each grit has its job to do.
Workspace Protection
Sanding creates a lot of dust. You absolutely need to protect your floors and surrounding areas. A good quality drop cloth is your best friend here. You can also use old newspapers or plastic sheeting. Make sure it covers a wide enough area.
It’s also a good idea to work in a well-ventilated space, like a garage with the door open or outside on a calm day. This helps dissipate the dust. We found that working outside is often the easiest way to manage the mess.
Cleaning Your Chairs First
This step is often overlooked, but it’s incredibly important. You need to start with a clean surface. Dirt, grease, and grime can clog your sandpaper. This makes it less effective and can even scratch your chair’s finish.
Use a mild soap and water solution. A degreaser can also be helpful if the chairs are particularly grimy. After washing, wipe them down with a clean, damp cloth. Make sure they are completely dry before you start sanding.
Prepping the Chairs for the Sanding Process
Once you have your supplies and your workspace is ready, it’s time to prep the chairs themselves. This involves a few quick checks and actions.
Inspect for Loose Parts
Before you get sanding, give your chairs a once-over. Are there any loose screws or wobbly joints? If so, tighten them up now. Sanding a chair that’s falling apart will only make the problem worse.
Sometimes, a little wood glue and a clamp can fix a loose joint. We found that addressing these structural issues first ensures a more durable final product. Nobody wants a chair that falls apart after a nice meal!
Removing Hardware and Upholstery
If your chairs have any metal hardware, like decorative studs or screws, it’s best to remove them. Sanding over these can damage your sandpaper and create an uneven surface. Take them off and store them safely in a small bag so you don’t lose them.
Similarly, if your chairs have fabric seats or backs, you’ll want to remove them. This prevents accidental sanding of the fabric and allows you to sand the wooden frame thoroughly. You can usually do this by unscrewing the seat or back from the frame.
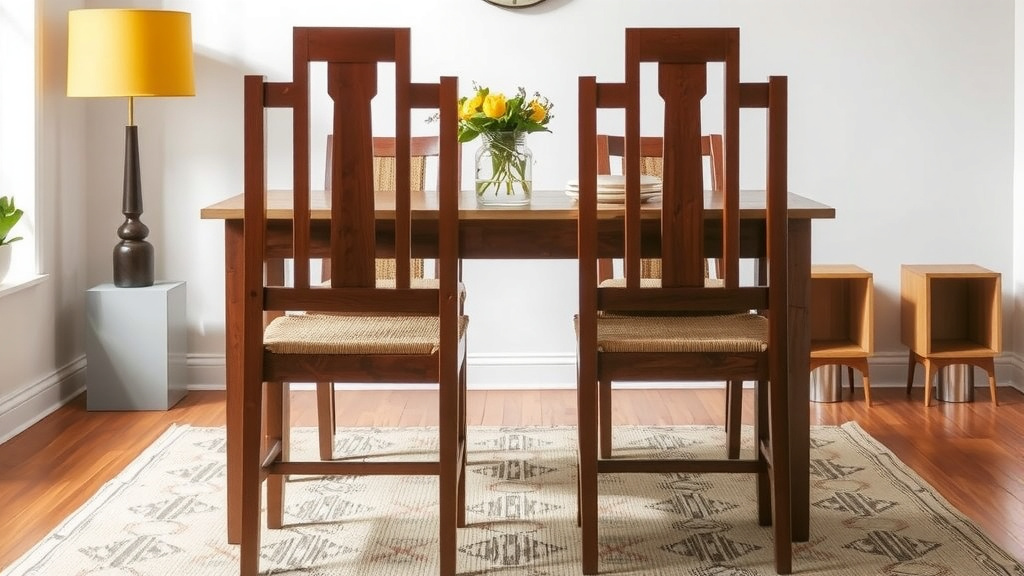
Understanding Your Chair’s Finish
Knowing what kind of finish is currently on your chairs helps determine your sanding approach. Are they painted, stained, or sealed with varnish or polyurethane?
Painted chairs might require more aggressive sanding, especially if the paint is old and chipping. You’ll likely need coarser grits to get down to the bare wood. Stained chairs might have a lacquer or varnish. These can often be sanded with finer grits.
We found that testing a small, inconspicuous area first is a smart move. This helps you gauge how much effort will be needed. It’s like doing a patch test for a new skin product!
Quick Checklist Before You Start Sanding
Here’s a quick rundown to ensure you’re fully prepared:
- Workspace cleared and protected with drop cloths.
- Sandpaper assortment (coarse, medium, fine) ready.
- Cleaning supplies (soap, water, degreaser) handy.
- Loose hardware removed and stored safely.
- Upholstery removed if necessary.
- Chairs cleaned and completely dry.
Conclusion
You’ve now learned the essential steps to prepare your dining chairs for sanding. We’ve covered gathering your supplies, protecting your workspace, and thoroughly cleaning your chairs. Taking the time for these prep steps ensures a smoother sanding process and a much better final finish. Remember to inspect for loose parts and remove hardware before you begin. By following this guide, you’re setting yourself up for a beautifully refinished set of chairs. Now, go ahead and get those chairs ready for their transformation!
Frequently Asked Questions
How do I know when I’ve sanded enough?
You’ve sanded enough when the surface feels smooth to the touch and all imperfections, like old paint or deep scratches, are gone. You should no longer feel any roughness or see any of the old finish remaining. Transitioning to a finer grit sandpaper will help achieve that ideal, velvety texture.
Can I use an electric sander on dining chairs?
Yes, you can use an electric sander, especially for larger, flatter areas. For detailed parts like legs or spindles, you might still need hand-sanding with sandpaper or a sanding sponge. Start with a lower speed and be careful not to oversand any one area, as electric sanders remove material quickly.
What if my chairs have a lot of nooks and crannies?
For tight spots, sanding sponges or folded sandpaper work wonders. You can also use a wire brush or a stiff-bristled toothbrush to get into very small crevices and remove dust before sanding. The key is to adapt your tools to the chair’s specific design.
Do I need to wear a mask when sanding?
Absolutely. You should always wear a dust mask, preferably an N95 respirator, when sanding. Wood dust can be harmful to your lungs. Also, consider wearing safety glasses to protect your eyes from flying dust particles and debris.
How long does it typically take to prep dining chairs for sanding?
The time needed for prep can vary. If your chairs are already clean and don’t have much hardware or upholstery, it might only take 30 minutes to an hour per chair. If they’re heavily soiled or require disassembling parts, it could take longer. Budget your time accordingly.
![7 Best Outdoor Dining Chairs [2026]](https://seatvit.com/wp-content/uploads/2026/06/7-best-outdoor-dining-chairs-2026-featured-768x432.jpg)

![7 Best Dining Table Chairs [2026]](https://seatvit.com/wp-content/uploads/2026/06/7-best-dining-table-chairs-2026-featured-768x432.jpg)