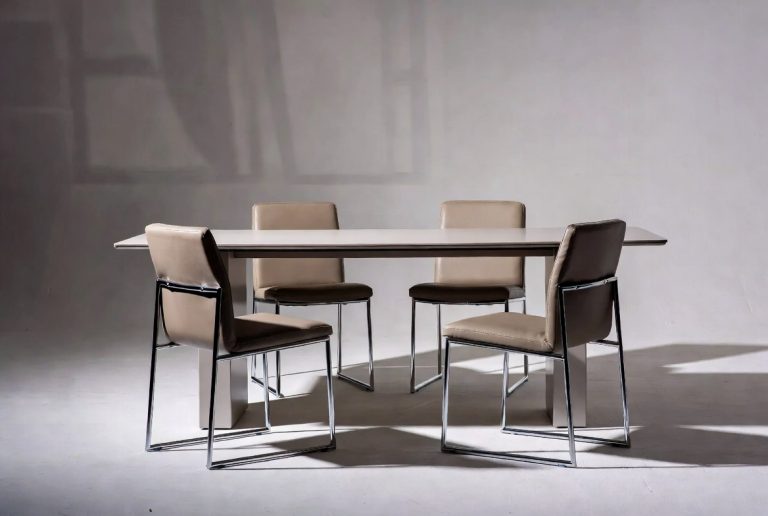
How to Fix Dining Room Chairs: Repair Guide
Yes, you can absolutely fix your wobbly or damaged dining room chairs! Most common chair problems like loose joints, torn upholstery, or broken spindles are surprisingly DIY-friendly. With a few basic tools and a little patience, you can restore your dining chairs to their former glory and avoid the cost of replacement.
Your dining chairs take a lot of abuse. They’re used daily for meals, homework, and gathering with friends. Over time, this wear and tear can lead to common issues. Understanding how to address these problems is key to preserving your furniture and keeping your dining space looking its best.
- Loose joints? Tighten them with wood glue and clamps.
- Torn fabric? Reupholster with new fabric and a staple gun.
- Broken parts? Replace them using wood filler or by sourcing new pieces.
- Scratches and scuffs? Refresh the finish with touch-up paint or stain.
- Need to clean them? Use appropriate cleaners for wood, fabric, or leather.
Ready to tackle those dining chair repairs? We’ve gathered straightforward steps and tips to help you fix them up. Let’s get those chairs sturdy and stylish again!
“`htmlRestoring Your Dining Room Chairs: A Practical Repair Guide
Are your dining room chairs looking a bit worse for wear? Don’t fret! Many common chair problems are quite fixable with some simple steps. You can often save money and keep your favorite chairs by tackling these repairs yourself. We’ve broken down how to fix the most common issues.
Tackling Wobbly or Loose Dining Chairs
A wobbly chair is more than annoying; it can be a safety hazard. Loose joints are usually the culprit here. The good news is that tightening them is often straightforward. You’ll need a few supplies before you begin. Gather wood glue, clamps, and possibly a rubber mallet.
Tightening Leg and Frame Joints
Start by identifying where the looseness is coming from. Often, the joints where legs meet the seat or apron are the problem. Gently try to rock the chair to pinpoint the weak spots. You may need to carefully disassemble parts if they’re very loose.
Once you find a loose joint, clean out any old glue or debris. A small chisel or putty knife works well for this. Then, apply a generous amount of good-quality wood glue to both surfaces of the joint. Reassemble the pieces, making sure they fit snugly. This is where your clamps come in. Apply them firmly to hold the pieces together while the glue dries.
Allow the glue to cure completely. This can take 24 hours or more, depending on the glue and humidity. Check the manufacturer’s instructions for drying times. After the glue has set, remove the clamps. Test the chair for stability. If it’s still a bit wobbly, you might need to add more glue or try a different clamping method. Sometimes, a few strategic taps with a rubber mallet can help seat the joints properly.
Dealing with Dried-Out or Damaged Wood
Sometimes, the wood itself in the joints might be dry or slightly damaged. In these cases, you can add a little extra glue. For minor cracks or gaps, wood filler can be a lifesaver. Apply it according to the product’s directions. Let it dry, then sand it smooth before you reassemble or finish the repair. This helps create a solid bond for rejoining parts.
Repairing Upholstery and Seat Cushions
Torn fabric or flattened cushions can make your dining chairs less inviting. Fixing these can refresh the look and comfort of your chairs quickly. You’ll likely need new upholstery fabric, a staple gun, scissors, and possibly some new foam or batting.
Replacing Torn or Worn Upholstery
Begin by carefully removing the old fabric. Take note of how it was attached. Most seat cushions are attached with staples underneath. Use a staple remover or flathead screwdriver to pry out the old staples. Peel away the old fabric, saving a piece if you need to match it or use it as a template.
Cut your new fabric to size, leaving a few extra inches around all sides for wrapping. Lay the new fabric right-side down on a clean surface. Place the seat cushion on top, upside down. Start stapling the fabric to the underside of the cushion, working from the center of each side outwards. Pull the fabric taut as you go to ensure a smooth, wrinkle-free finish. Fold any excess fabric neatly at the corners before stapling them down.
Revitalizing Flat Seat Cushions
If your seat cushions have lost their bounce, they might just need a refresh. You can often replace just the foam insert. Measure your existing cushion accurately. Purchase new high-density foam cut to size from a craft store or upholstery supplier. Simply remove the old foam and insert the new piece into the fabric cover.
For cushions that are slightly flattened but not completely gone, you might add a layer of polyester batting. This fluffy material can add back some loft and comfort. Wrap the batting around the foam before you put it back into the fabric cover. This can give your seats a plumper, more inviting look.
Fixing Broken or Missing Parts
Accidents happen, and sometimes a spindle breaks or a decorative piece goes missing. Don’t assume you need a whole new chair. Many of these issues can be repaired or replaced.
Replacing Broken Spindles or Legs
If a spindle or a leg is broken, your first step is to see if it can be glued back together. For clean breaks, wood glue and clamps might do the trick. If the piece is shattered, you’ll need to replace it. You can often find replacement parts at furniture repair shops or online. If you can’t find an exact match, you might need to have a custom piece made by a woodworker.
When installing a new part, ensure it fits securely. Use wood glue and possibly screws for added strength. If you’re replacing a leg, make sure it’s the same height as the others to keep the chair level. You might need to sand or trim the new part to get a perfect fit.
Repairing Minor Wood Damage
Small chips, dents, or gouges in the wood can be fixed with wood filler or wood putty. Choose a color that closely matches your chair’s finish. Apply the filler, let it dry, and then sand it smooth. You can then touch up the area with matching paint or stain. This makes the repair nearly invisible.

Refreshing the Finish and Appearance
Scratches, scuffs, and faded finishes can make even sturdy chairs look tired. A little touch-up can make a big difference.
Touching Up Scratches and Scuffs
For minor surface scratches, you can often use a furniture touch-up marker or crayon. Choose a color that matches your chair’s wood tone. Rub it gently into the scratch. For deeper scratches or worn areas, you might need to use a matching wood stain or paint. Apply it sparingly with a small brush. Always test in an inconspicuous area first.
Cleaning and Conditioning Wood
Regular cleaning is key to maintaining your chairs. Use a damp cloth with a mild soap solution for general cleaning. For wood, use a cleaner specifically designed for furniture finishes. After cleaning, you can apply a furniture polish or wax to help protect the wood and bring back its shine. This simple step can revive dull surfaces and make your chairs look refreshed and cared for.
Your Dining Chair Repair Checklist
- Identify the specific problem (wobbly, torn fabric, broken part).
- Gather necessary tools and materials before starting.
- Clean all surfaces thoroughly before applying glue or filler.
- Use clamps to ensure a tight, secure bond for all glued joints.
- Test your repairs carefully before putting the chair back into regular use.
- Don’t be afraid to seek help for complex repairs if needed.
Conclusion
You’ve learned that fixing your dining room chairs is well within your reach! Addressing wobbles, torn upholstery, or minor wood damage doesn’t require a professional. With basic tools and the steps outlined, you can restore stability and beauty to your furniture. Think of the satisfaction of saving money and extending the life of your cherished chairs. Now, take a look at your chairs, identify the most pressing issue, and gather what you need to start your first repair. Your dining room will thank you for it!
Frequently Asked Questions
How do I know if a chair joint is truly loose?
Gently try to rock the chair. If you feel movement or hear creaking specifically where the legs meet the seat or frame, that’s a loose joint. Wiggle each leg individually to isolate the weak spots.
What’s the best way to keep new upholstery from looking lumpy?
Pull the fabric taut as you staple it down, working from the center of each side outwards. Smooth out any wrinkles before securing the fabric. This ensures a tight and professional finish.
Can I repair a chair leg that is completely broken in half?
For a clean break, wood glue and clamps might work if the pieces fit back perfectly. If the break is shattered or pieces are missing, it’s best to replace the entire leg to ensure safety and stability.
My chairs have dark scratches. What’s the easiest fix?
Furniture touch-up markers or crayons in a matching dark color are often the easiest solution for minor scratches. For deeper damage, you might need a darker wood stain applied with a small brush.
How often should I clean and condition my wooden dining chairs?
A good rule of thumb is to clean them weekly with a damp cloth. Apply a furniture polish or conditioner about every 3-6 months, or whenever the wood starts to look dull, to maintain its appearance and protect the finish.