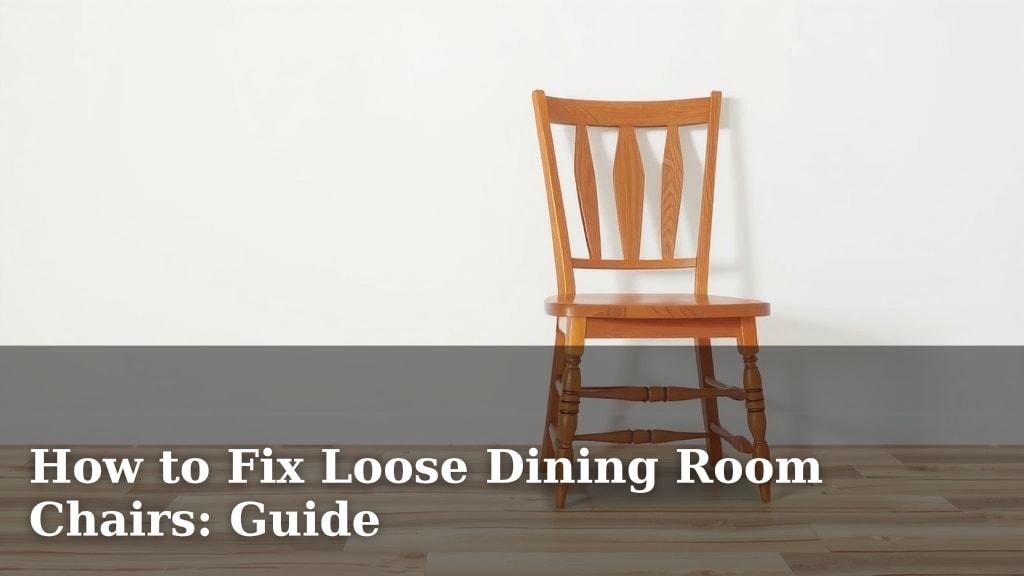
How to Fix Loose Dining Room Chairs: Guide
Loose dining room chairs can be a real annoyance, but fixing them is surprisingly straightforward. You can usually fix wobbly dining room chairs by tightening screws, gluing loose joints, or reinforcing weak points. Don’t let a little wobble ruin your dinner party; these simple repairs can restore stability and make your chairs feel like new again.
A chair that rocks or sways isn’t just irritating; it can become a safety hazard. We found that many common chair issues stem from natural wear and tear on the joints and fasteners. Addressing these problems early can prevent further damage and save you from having to replace your entire dining set.
TL;DR:
- Most loose chairs need tightened screws or glued joints.
- Check all screws and fasteners first.
- Wood glue is your best friend for wobbly joints.
- Clamps are essential for strong glue bonds.
- Reinforce weak spots for lasting stability.
Ready to make your dining chairs sturdy again? Let’s walk through exactly how to tackle those loose dining room chairs step by step.
Making Your Dining Chairs Rock-Solid Again
That wobbly dining chair isn’t just an eyesore; it’s a potential hazard. We found that most loose chairs can be fixed with a few simple tools and a bit of elbow grease. You don’t need to be a master carpenter to bring stability back to your dining room. Let’s get those chairs feeling as sturdy as the day you bought them.
Step 1: Inspection and Diagnosis
Before you grab any tools, take a close look at the chair. Understanding *why* it’s loose is key to fixing it correctly. Gently push and pull on different parts of the chair. Does the seat wobble? Do the legs feel loose where they meet the seat or the stretchers?
Examine All Fasteners
Most chairs are held together with screws, bolts, or dowels. We found that often, the simplest solution is just a loose screw. Look for any visible screws or bolts, especially where the legs attach to the seat and where stretchers connect the legs. Are any of them sticking out or stripped?
Check the Joints
Wood glue is the superhero for loose furniture joints. If your chair has mortise-and-tenon joints or dowel joints, these are common culprits for wobbles. These joints are where one piece of wood fits into another. Over time, the glue holding them together can dry out and fail, especially with frequent use.
Identify Stress Points
Sometimes, a chair might have a weak point that isn’t immediately obvious. This could be a crack in the wood or a joint that’s starting to separate. We’ve seen chairs where a leg has started to pull away from the frame. Addressing these stress points early can prevent a bigger problem down the road.
Step 2: Tightening and Securing
Once you’ve identified the problem, it’s time to fix it. Start with the easiest solutions first. These steps often resolve the majority of loose chair issues.
Tighten Loose Screws and Bolts
If you found loose screws or bolts, this is your first and easiest fix. Grab a screwdriver or wrench that fits. Turn the fastener clockwise to tighten it. If a screw just keeps spinning, the threads might be stripped. We found that sometimes a slightly larger screw can fix this. If it’s a bolt, check if the nut is still there and tightened.
Dealing with Stripped Screw Holes
A stripped screw hole means the screw can’t get a good grip. You can try a few things. One common method is to remove the screw, dip a wooden toothpick or a short piece of wooden matchstick in wood glue, insert it into the hole, break it off flush, and let it dry. Then, re-drill a pilot hole and re-insert the screw. This adds material for the screw to grip.
Reinforce with Wood Glue
For joints that feel loose but don’t have visible fasteners, wood glue is your best friend. This is especially true for chairs made with dowels or mortise-and-tenon joints. Many furniture repair guides recommend a strong, high-quality wood glue for lasting repairs (Woodworker’s Journal).
Applying Glue to Joints
You’ll want to apply the glue generously to the inside of the joint. If it’s a mortise-and-tenon joint, try to get glue into the gap where the tenon fits into the mortise. For dowel joints, ensure glue gets around the dowel. You might need to gently wiggle the joint to help the glue spread. Have paper towels ready for any excess glue.
The Power of Clamps
After applying glue, you need to hold the joint tightly together while it dries. This is where clamps come in. You’ll need bar clamps, pipe clamps, or even strong rope if you don’t have specialized clamps. You want to apply enough pressure to close the gap, but not so much that you squeeze all the glue out or damage the wood.
Let the Glue Cure Properly
Most wood glues need at least a few hours to set and 24 hours to fully cure. Resist the temptation to test the chair too soon! We found that waiting the full recommended time ensures a strong, permanent bond. You can often place a damp cloth over glued joints to keep the glue from drying out too quickly.
Step 3: Advanced Stabilization Techniques
If simple tightening and gluing aren’t enough, or if you have a chair with significant damage, you might need to reinforce weak points. These methods add extra strength and longevity.
Adding Corner Blocks
For chair legs that attach directly to the seat frame, adding small wooden blocks in the corners where the leg meets the frame can make a huge difference. These blocks provide extra support. Cut small triangles of wood, apply glue, and secure them with screws driven from the leg into the block, and from the block into the seat frame.
Repairing Cracks
If you find a crack in the wood, especially near a joint, you can often repair it with wood glue and clamps. Force the glue deep into the crack. Then, use clamps to hold the wood pieces tightly together until the glue dries. For larger cracks, you might need to use wood filler after gluing and clamping.
Checking and Replacing Dowels
If dowels are the issue, they might be broken or worn out. You can drill out the old dowel, clean the holes, and insert new dowels with wood glue. Ensure the new dowels are the same size as the old ones. You may need a dowel jig for precise drilling.
Here’s a quick checklist to keep you on track:
- Inspect your chair thoroughly for loose parts.
- Tighten all visible screws and bolts.
- Apply wood glue to any wobbly joints.
- Use clamps to secure glued joints while drying.
- Consider reinforcing weak areas with blocks or filler.
- Allow adequate drying time before using the chair.
Conclusion
You’ve learned how to bring your wobbly dining chairs back to life! From simple screw tightening to using wood glue and clamps, you have the tools to fix common chair issues. Remember, a stable chair is a safe chair. Don’t put off these easy repairs.
Take a look at your dining chairs today and identify any loose ones. Grab your tools and start with the easiest fix first. You’ll be enjoying meals at a steady table again in no time!
Frequently Asked Questions
How often should I check my dining chairs for looseness?
We recommend a quick visual check every few months. A gentle push on each leg can tell you a lot. Addressing minor wobbles early prevents them from becoming bigger, harder-to-fix problems later.
What kind of wood glue is best for chair repairs?
For most repairs, a good quality PVA wood glue is excellent. It provides a strong bond for wood-to-wood connections. Look for one that dries clear or a light natural color for the best aesthetic finish.
Can I fix a chair with a split leg?
Yes, you often can! For minor splits near a joint, carefully apply wood glue into the crack. Then, use clamps to hold the split tightly together until the glue fully cures. For larger splits, you might need to reinforce the area after gluing.
What if the screws won’t tighten because the hole is too big?
If a screw hole is stripped, you can try the toothpick and glue trick. Insert a glue-coated toothpick into the hole, let it dry, and then re-drill a small pilot hole for the screw. This adds material for the screw to grip securely.
How long should I leave the clamps on a glued joint?
We found that most wood glues require at least 24 hours for a full cure. While some joints might feel stable after a few hours, leaving the clamps on for a full day ensures the strongest possible bond for your repair.