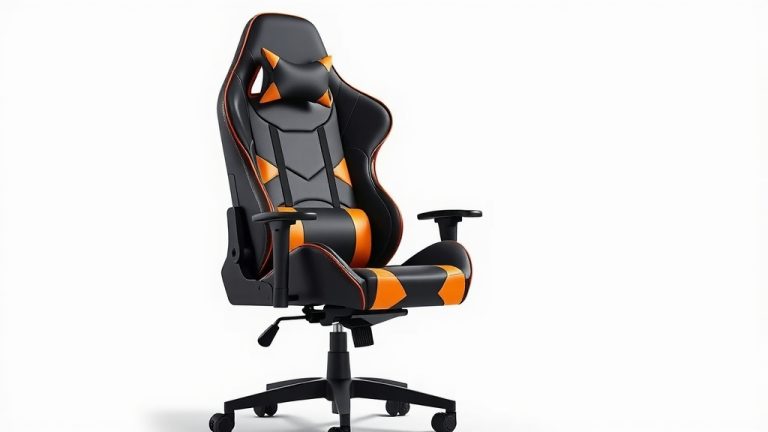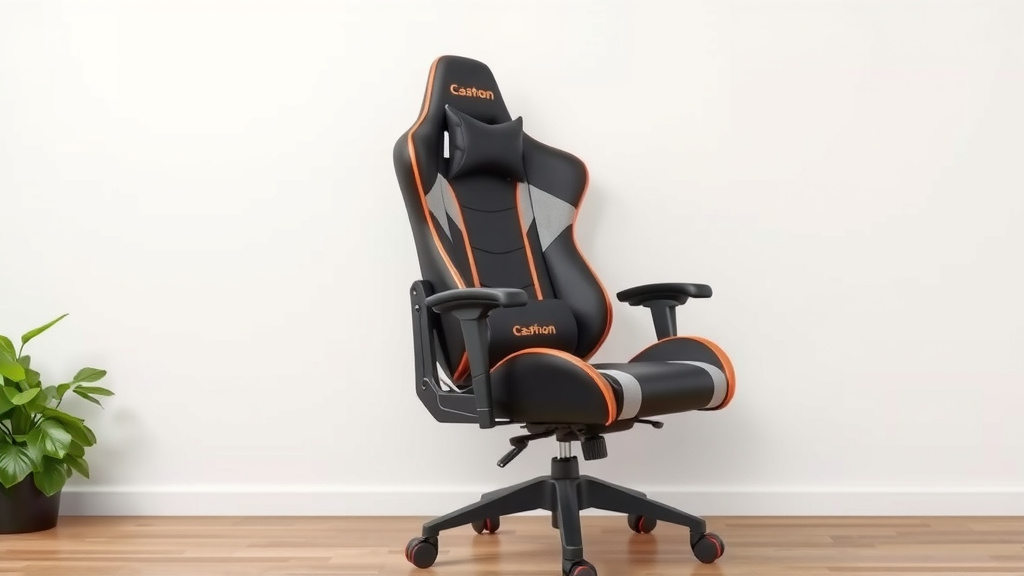
How to Assemble Your Gaming Chair: Step-by-Step Guide
Hooking up your new gaming chair is a straightforward process. You’ll typically attach the base, wheels, gas lift, and then the seat mechanism to the chair. Most chairs come with all the tools you need. It shouldn’t take more than 30 minutes to get you gaming in comfort.
Getting your gaming chair set up correctly ensures maximum comfort and support. It means your chair will be ready for those long gaming sessions. We found that many users are concerned about this step, but it’s really quite manageable for anyone.
- Unpack all parts carefully.
- Attach wheels to the star base.
- Insert the gas lift cylinder.
- Connect the seat mechanism.
- Mount the seat onto the gas lift.
Let’s walk through exactly how to get your gaming chair assembled, step by step, so you can sit back and play in no time.
“`htmlAssembling Your New Gaming Chair: A Step-by-Step Guide
Getting your gaming chair set up is probably easier than you think. Most manufacturers design these chairs for quick and simple assembly. You’ll find all the necessary parts and tools included in the box. We’ve put together this guide to walk you through each step, making sure your setup is sturdy and comfortable.
What’s Inside the Box? Getting Organized
Before you start, it’s a good idea to lay out all the components. This helps you confirm everything is present and makes the assembly process much smoother. You’ll typically find the following parts:
- The star-shaped base
- The caster wheels (usually 5)
- The gas lift cylinder
- The seat mechanism (often pre-attached to the seat)
- The seat with armrests attached
- The backrest
- Hardware (bolts, washers, Allen wrench)
Take a moment to compare these items against the parts list in your chair’s manual. If anything seems missing, contact the manufacturer’s customer support. It’s much better to sort this out before you begin.
Building the Foundation: The Base and Wheels
This is where your chair starts to take shape. The base is usually a sturdy, star-shaped structure. You’ll attach the caster wheels to the bottom of this base.
Attaching the Caster Wheels
Attaching the wheels is usually the first physical step. You’ll simply push each wheel into the sockets at the end of each leg of the star base. You should hear a satisfying ‘click’ when each wheel is properly seated. Make sure they are pushed in all the way. Sometimes, a bit of firm pressure is all it takes. Many sources suggest giving each wheel a gentle tug afterward to confirm it’s secure.
Inserting the Gas Lift Cylinder
Once the wheels are in place, it’s time for the gas lift. This cylinder controls the chair’s height adjustment. You’ll find a plastic cap on top of the gas lift; remove this. Then, simply place the wider end of the gas lift cylinder into the central hole of the star base. It should rest there securely. Don’t worry if it seems a little loose; it will be pressed down firmly once you add the seat.
Connecting the Seat Mechanism
The seat mechanism is the part that allows your chair to tilt and lock in place. It’s often pre-attached to the underside of the seat, which simplifies things. You’ll need to orient the mechanism correctly before attaching it.
Understanding the Mechanism’s Orientation
Look at the underside of your chair’s seat. You’ll see the seat mechanism plate. There’s usually a lever on the side for height adjustment and another for tilt. Make sure the mechanism is facing the correct direction. Most are designed to align with the front of the seat. You’ll find markings or specific screw hole patterns that help guide you. It’s important to get this right for the chair to function correctly.
Securing the Mechanism to the Seat (If Necessary)
In some models, the seat mechanism might not be pre-attached. If yours requires attachment, you’ll use the provided bolts and washers. Align the mechanism with the pre-drilled holes on the seat. Insert the bolts through the mechanism and into the seat. Tighten them securely using the provided Allen wrench. Many guides recommend tightening bolts in a crisscross pattern to ensure even pressure. We found this helps prevent wobbling later on.
Bringing It All Together: Mounting the Seat
Now comes the exciting part – attaching the seat to the base you’ve built. This step connects the main components.
Positioning the Seat onto the Gas Lift
Carefully lift the assembled seat and seat mechanism. Align the center hole of the seat mechanism with the top of the gas lift cylinder. Lower the seat onto the cylinder. You might need to apply some downward pressure. As you sit in the chair, your weight will help secure the seat onto the gas lift, making it stable. It’s similar to how a cork fits into a bottle.
Attaching the Armrests and Backrest
Your chair’s armrests are often attached to the sides of the seat. Use the provided bolts and Allen wrench to secure them. Again, don’t overtighten immediately; snug them up first. Then, align the backrest with the mounting points on the seat mechanism or the seat itself. Use the remaining bolts to attach the backrest. Once everything is in place, go back and tighten all bolts firmly. A sturdy chair is a safe chair.
Final Checks for Stability and Functionality
Once everything is assembled, take a moment for a final inspection. Wiggle the chair gently to ensure it’s stable. Test the height adjustment lever to make sure the gas lift is working. Try out the tilt and lock mechanisms. You want to be sure everything feels secure and operates smoothly before you settle in for a long gaming session.
Quick Checklist for Assembly
Here’s a rapid rundown to ensure you haven’t missed a step:
- All parts accounted for?
- Wheels firmly clicked into the base?
- Gas lift inserted correctly?
- Seat mechanism (if separate) securely bolted?
- Seat mounted firmly onto the gas lift?
- Armrests and backrest attached and tightened?
- Final stability check completed?
Following these steps should have your gaming chair ready to go. If you encountered any resistance or found a step particularly difficult, double-check your manual. Sometimes, a different angle or a slight adjustment is all that’s needed. Many user forums suggest patience is key during assembly. Remember, a well-assembled chair contributes to better posture and can help prevent discomfort during extended play sessions (Cleveland Clinic).
“`Conclusion
You’ve successfully navigated the assembly of your new gaming chair! We’ve walked through unpacking, building the base, attaching the seat mechanism, and finally mounting the seat. Ensuring each step is done correctly means your chair will be sturdy and supportive for all your gaming adventures. Remember those final checks for stability. Now, you’re all set to sit back, relax, and enjoy hours of comfortable gameplay. Your next step? Dive into your favorite game and experience the difference a well-assembled chair makes!
Frequently Asked Questions
What if a bolt doesn’t seem to fit properly?
If a bolt feels difficult to thread, stop and check that you’re using the correct bolt for that specific hole. Sometimes bolts look similar but have slight differences. Also, ensure the parts you’re connecting are perfectly aligned before inserting the bolt.
Can I adjust the chair’s height before it’s fully assembled?
It’s best to wait until the seat mechanism is mounted onto the gas lift cylinder before attempting any height adjustments. The weight of you sitting in the chair is what firmly secures it to the gas lift, allowing the height lever to function correctly.
My chair feels a little wobbly after assembly. What should I do?
A slight wobble usually means some bolts aren’t fully tightened. Go back through the steps and firmly tighten all the bolts, especially those connecting the seat mechanism, armrests, and backrest. Ensure the wheels are also securely clicked into the base.
Is it okay to use my own tools if the provided ones are difficult?
While the included tools are designed for the specific hardware, you can use your own if they make the job easier. Just be careful not to overtighten bolts, as this can strip the threads or damage the chair components. Always use the correct size tool for the job.
How do I know if the seat mechanism is installed the right way up?
Most seat mechanisms have a clear front and back, often indicated by the position of the adjustment levers. There will also be specific screw hole patterns that align with pre-drilled holes on the seat. If it doesn’t seem to fit or the levers are in an awkward position, try flipping it over.