
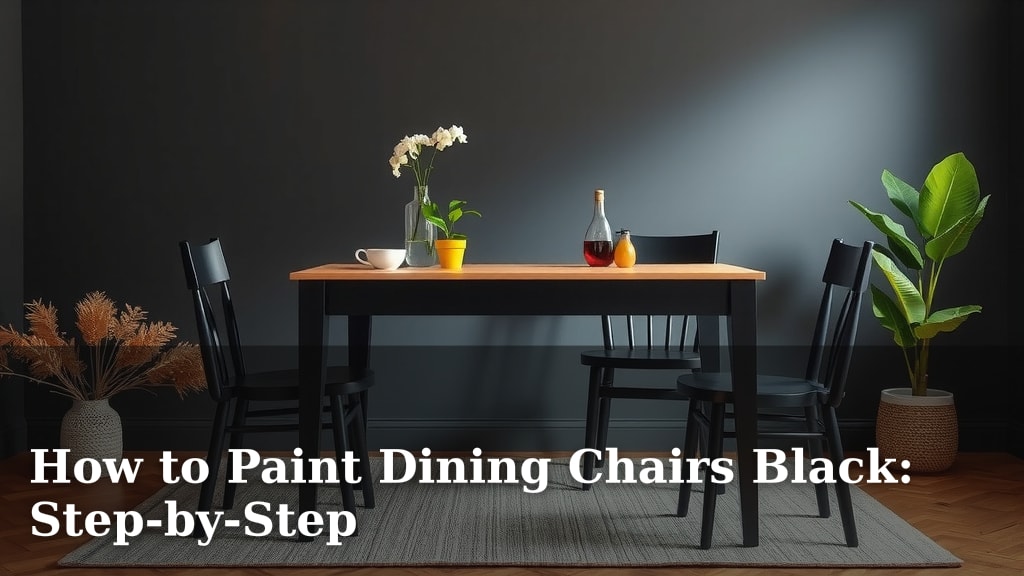
How to Paint Dining Chairs Black: Step-by-Step
Painting your dining chairs black is a fantastic way to refresh your dining room. You can easily transform old or dated chairs into a bold, modern statement with just a few supplies and some patience. This project is totally doable, even if you’re new to DIY furniture painting. You’ll be amazed at how much of a difference a fresh coat of black paint can make!
Black dining chairs offer a timeless and versatile look. They pair well with almost any table style and color scheme. Many homeowners find that painting their chairs black is a cost-effective alternative to buying a whole new set. Plus, you get the satisfaction of a successful DIY project. It’s a smart way to update your space without breaking the bank.
- Prep is key for a smooth finish.
- Use the right primer for good paint adhesion.
- Choose a durable paint, like enamel or cabinet paint.
- Allow ample drying time between coats.
- Seal your paint job for long-lasting results.
Ready to give your dining chairs a chic black makeover? Let’s walk through exactly how to do it, step by step.
“`htmlGiving Your Dining Chairs a Chic Black Makeover
Transforming your dining chairs with a coat of black paint is a surprisingly straightforward project. You can achieve a professional-looking finish with a little preparation and the right techniques. We’ll guide you through each step, making sure your chairs look fantastic.
Gathering Your Essential Painting Supplies
Before you begin, make sure you have all the necessary materials. Having everything ready will make the painting process much smoother and more enjoyable. You wouldn’t want to stop mid-project to run to the store, right?
What You’ll Need for the Job
Having the right tools is half the battle. Research indicates that proper preparation and the correct supplies lead to a much more durable finish. Here’s a checklist of items to gather:
- Dining chairs to paint
- Screwdriver (if disassembling parts)
- Sanding block or sandpaper (120-220 grit)
- Tack cloth or damp rag
- Painter’s tape
- Drop cloths or old newspapers
- Primer (oil-based or water-based, depending on your paint)
- Black paint (enamel, cabinet paint, or chalk paint)
- Paintbrushes (various sizes for detail)
- Paint roller (foam or microfiber, for flat surfaces)
- Paint tray
- Clear sealant or topcoat (polyurethane or wax)
- Gloves and safety glasses
Preparing Your Dining Chairs for Painting
This is arguably the most important step. Skipping or rushing the preparation phase will show in your final result. A good base ensures your paint adheres properly and lasts longer. Think of it like building a strong foundation for a house!
Step 1: Clean Your Chairs Thoroughly
Start by giving your chairs a good cleaning. Remove any dust, grease, or grime. A mild soap and water solution usually does the trick. For stubborn spots, a degreaser might be necessary. Make sure to wipe them down with a clean, damp cloth afterward and let them dry completely. Many cleaning guides recommend a thorough clean to ensure paint adhesion.
Step 2: Disassemble If Possible
If your chairs have removable parts, like seat cushions or decorative elements, consider taking them apart. This allows you to paint each piece more easily and get into all the nooks and crannies. A quick look at how your chairs are assembled should tell you if this is feasible. You might need a screwdriver or a wrench.
Step 3: Sand for Smoothness
Lightly sand all the surfaces you plan to paint. The goal isn’t to remove the old finish completely, but to create a slightly rough texture for the primer and paint to grip onto. Use a medium-grit sandpaper (around 120-grit) first, then follow up with a finer grit (220-grit) for a smoother feel. Wipe away all the sanding dust with a tack cloth or a slightly damp rag. We found that a good wipe-down after sanding is essential for preventing a gritty finish.
Step 4: Apply Painter’s Tape
If there are areas you don’t want to paint, such as hardware or upholstered sections, carefully apply painter’s tape. Ensure the tape is pressed down firmly to prevent any paint from seeping underneath. This takes a little patience, but it’s worth it for clean lines.
Priming Your Chairs for a Flawless Finish
Primer acts as a bridge between your chair’s surface and your topcoat of black paint. It helps the paint stick better and provides a uniform base color, especially if your chairs are currently a bright or dark shade. It also helps to cover up any minor imperfections.
Choosing the Right Primer
For most furniture projects, an oil-based primer offers excellent adhesion and durability. However, some water-based (latex) primers are formulated to work well on finished surfaces too. If you’re painting over a glossy finish, an oil-based primer is often recommended by DIY experts. If you sanded down to bare wood, a good quality water-based primer will likely suffice.
Applying the Primer Coat
Apply a thin, even coat of primer to your chairs. You can use a paintbrush for smaller areas and a foam roller for larger surfaces. Avoid applying the primer too thickly, as this can lead to drips and an uneven texture. Let the primer dry completely according to the manufacturer’s instructions. You might need to lightly sand any rough spots after the primer is dry and wipe it down again before painting.

Applying Your Black Paint
Now for the exciting part – applying the beautiful black paint! The type of paint you choose will influence the finish and durability. For dining chairs, which see a lot of use, a durable paint is key.
Selecting Your Black Paint
We recommend using a paint specifically designed for furniture or cabinets. These paints are often enamel-based, offering a hard, durable finish that can withstand daily wear and tear. Many users find that latex enamel paints are a good balance of durability and ease of cleanup. For a more matte or chalky look, chalk paint is an option, but it typically requires a topcoat for protection.
Techniques for Painting
Start with thin, even coats. If you’re using a brush, use long, smooth strokes. For flat surfaces like the seat or back, a small foam roller can give a smoother finish. Work in a well-ventilated area, and always allow the paint to dry completely between coats. You’ll likely need two to three coats for full coverage. Remember to consult paint manufacturer guidelines, as drying times can vary.
Drying and Curing Time
Paint needs time to dry to the touch, but it also needs to cure. Curing is the process where the paint hardens completely. This can take several days to a couple of weeks, depending on the paint type and humidity. Be gentle with your newly painted chairs during this period to avoid scuffing or chipping the paint. We found that patience here is a virtue!
Sealing Your Painted Chairs for Longevity
To protect your hard work and ensure your black chairs look great for years to come, a final topcoat is essential. This sealant shields the paint from scratches, spills, and general wear and tear.
Choosing a Protective Topcoat
Polyurethane is a popular choice for a durable, protective finish. It’s available in various sheens, from matte to high-gloss. For a more natural or vintage look, a furniture wax can also be applied over chalk paint or latex paint. Many furniture refinishing guides suggest a clear coat for added protection.
Applying the Sealant
Apply the sealant in thin, even coats, just like you did with the primer and paint. Allow each coat to dry completely before applying the next. Follow the manufacturer’s recommendations for drying and curing times. Once fully cured, your chairs will be ready for their debut!
Final Checklist for Your Painted Chairs
Let’s recap the main steps to ensure a successful project. Did you remember to:
- Clean your chairs thoroughly?
- Sand them lightly for adhesion?
- Apply a good quality primer?
- Use durable black paint?
- Allow ample drying time between coats?
- Apply a protective topcoat?
Conclusion
You’ve now got a clear roadmap to transform your dining chairs into stylish black showpieces! Remember, the key to a durable, beautiful finish lies in the prep work, from thorough cleaning and sanding to careful priming. By using quality materials and allowing proper drying times between each step, you’re setting yourself up for a DIY success. Your refreshed dining chairs will not only look fantastic but will stand up to everyday life. Now, go forth and paint!
Frequently Asked Questions
How long will it take to paint my dining chairs?
The actual painting time might be just a few hours, but the total project time is much longer. You’ll need to factor in drying and curing time, which can add several days to the process. Rushing these steps can impact the paint’s durability.
What’s the best type of black paint for dining chairs?
For dining chairs, we recommend using a durable paint like enamel or cabinet paint. These are formulated to withstand heavy use, scratches, and moisture. Latex enamel paints are a good option, offering toughness and easier cleanup.
Do I really need to prime my chairs?
Yes, priming is a vital step for a lasting finish. Primer helps your black paint adhere properly, especially over existing finishes or different colors. It also creates a uniform surface for a smoother, more even paint application.
Can I paint over a glossy finish without sanding?
While you might be tempted to skip sanding, it’s highly recommended. Light sanding creates a surface texture that helps the primer and paint adhere much better. Skipping this step could lead to paint peeling or chipping down the road.
How do I get a smooth, brush-free finish?
To minimize brush marks, use thin coats of paint and a high-quality brush. For larger, flat areas like chair seats, a small foam roller can give a super smooth, professional look. Always sand lightly between coats if needed, and wipe away dust.





![7 Best Material To Reupholster Dining Room Chairs [2026]](https://seatvit.com/wp-content/uploads/2026/07/7-best-material-to-reupholster-dining-room-chairs-2026-featured-768x432.jpg)