
How to Refinish a Dining Room Table & Chairs
Yes, you can absolutely refinish your dining room table and chairs yourself! It’s a great way to give your furniture a fresh, new look without spending a fortune. You’ll be amazed at the difference a little elbow grease can make, transforming worn-out pieces into showstoppers.
Refinishing furniture is a rewarding DIY project. It allows you to update the style of your dining set to match your home’s decor. You can choose a new stain color, paint finish, or even add decorative touches to revitalize your dining space.
- Assess your table and chairs for damage.
- Gather necessary supplies like sandpaper, stain, and sealant.
- Prepare your workspace for dust and fumes.
- Sand away the old finish carefully.
- Apply your chosen stain or paint.
- Seal and protect the new finish.
Let’s walk through exactly how to tackle this project step by step, so you can get your dining set looking its absolute best.
Giving your dining set a makeover is more achievable than you might think! It’s a fantastic way to breathe new life into your furniture and refresh your dining area. You might be surprised at how rewarding this DIY project can be. Let’s get your table and chairs looking like new again!
Revitalizing Your Dining Set: A Step-by-Step Guide
Refinishing your dining room table and chairs can give them a brand-new look. This process involves removing the old finish and applying a fresh one. It’s a project that requires patience but delivers impressive results.
Step 1: Inspect and Prepare Your Furniture
Before you grab any tools, take a close look at your table and chairs. Are there any deep scratches, dents, or wobbly legs? These issues need addressing before you start refinishing. You might need wood glue for loose joints or wood filler for deeper gouges. Many experts suggest filling any holes or imperfections with wood filler and letting it dry completely. This ensures a smooth surface for your new finish.
Step 2: Gather Your Supplies
Having everything ready makes the process much smoother. You’ll want to gather your tools and materials before you begin. This prevents interruptions and keeps your workflow going. Think of it like preparing all your ingredients before you start cooking!
Essential Tools and Materials
- Sandpaper: A variety of grits, from coarse (like 80-grit) to fine (like 220-grit).
- Sanding Block or Orbital Sander: To help with even sanding.
- Chemical Stripper (Optional): For stubborn old finishes.
- Tack Cloth: To pick up fine dust after sanding.
- Paint Brushes and Rollers: For applying stain and sealant.
- Gloves and Safety Glasses: Essential for protection.
- Drop Cloths or Plastic Sheeting: To protect your floor.
- Wood Stain or Paint: Your chosen color and finish.
- Polyurethane or Sealer: To protect the new finish.
Step 3: Prepare Your Workspace
This project can get messy. You’ll be dealing with dust and potentially fumes from strippers or finishes. It’s important to set up in a well-ventilated area. A garage or an outdoor space is ideal, especially on a nice day. If you must work indoors, open windows and use fans. Cover your floor with drop cloths to catch all the dust and drips. Safety first is key here, so wear your protective gear.
Step 4: Remove the Old Finish
This is where the hard work begins. You need to get down to the bare wood. If the existing finish is thin, sanding might be enough. Start with a coarser grit sandpaper (around 80-grit) to remove the bulk of the old finish. You’ll likely need to work in the direction of the wood grain. For tougher finishes, a chemical stripper might be necessary. Always follow the product’s instructions carefully and ensure good ventilation. Many sources, like woodworking guides, recommend testing strippers in an inconspicuous area first.
Sanding Techniques
Once the bulk of the finish is off, you’ll move to finer grits. Progress from 100-grit to 150-grit, and then to 220-grit sandpaper. This creates a smooth surface that will accept the new stain or paint evenly. You want to feel the wood with your fingertips to ensure there are no rough spots left. A smooth finish is the foundation for a beautiful result. Don’t skip these sanding steps!
Step 5: Apply Your New Finish
Now for the fun part – transforming your furniture’s look! You can choose a new stain color or a bold paint. Whichever you pick, application is key to a professional-looking outcome.
Staining Your Table and Chairs
If you’re staining, apply the stain evenly with a brush or rag, working in the direction of the wood grain. Wipe off any excess stain after a few minutes, depending on the product instructions. This allows you to control the depth of the color. You might need multiple coats for a richer hue. Many woodworking professionals suggest applying thin, even coats for the best coverage.
Painting Your Dining Set
If painting, consider a primer first. A good primer helps the paint adhere better and provides a more uniform color. Apply thin, even coats of your chosen paint. Allow each coat to dry completely before applying the next. You might find that two or three coats are necessary for full coverage. For a smooth finish, lightly sand between coats with a very fine-grit sandpaper (like 320-grit).
Step 6: Seal and Protect
Once your stain or paint is completely dry, it’s time for a protective topcoat. This is super important for durability, especially on a dining table that sees a lot of use. Polyurethane is a popular choice. It comes in different finishes, like satin, semi-gloss, and gloss. Apply a few thin coats, allowing each to dry thoroughly. Lightly sanding with very fine sandpaper between coats can help create an ultra-smooth surface.
A Quick Checklist for Success
- Work in a well-ventilated area with protective coverings.
- Sand thoroughly with progressively finer grits.
- Wipe away all dust with a tack cloth before finishing.
- Apply thin, even coats of stain or paint.
- Allow adequate drying time between all coats.
- Apply at least two coats of protective sealant.
Taking these steps will help ensure your refinished dining set is not only beautiful but also built to last. You’ve got this!
Conclusion
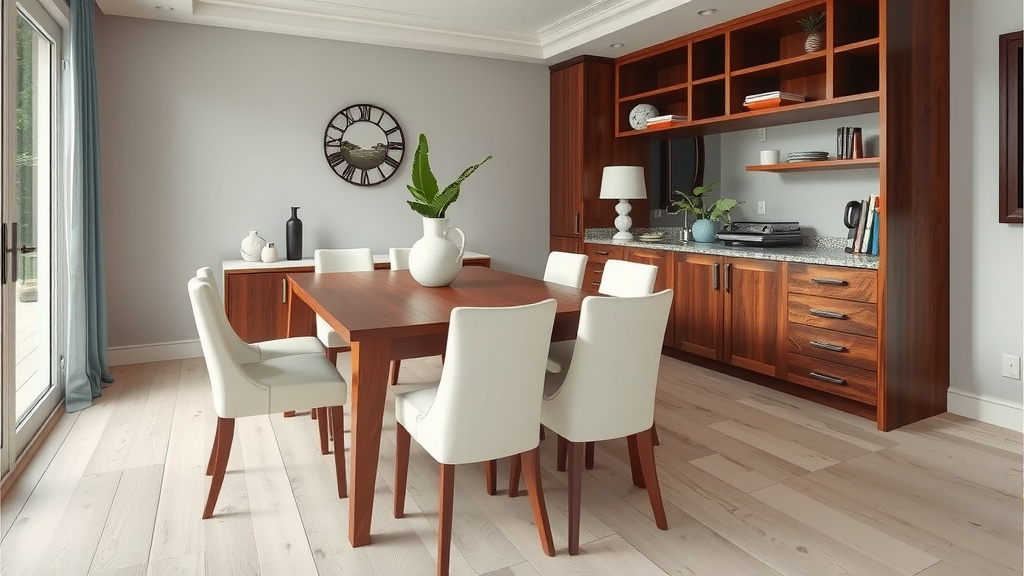
You’ve reached the end of your dining set refinishing journey! Remember, with careful preparation and patience, you can absolutely transform your table and chairs. You’ve learned how to assess damage, gather supplies, prepare your space, remove old finishes, apply new ones, and seal everything for lasting beauty. This project isn’t just about furniture; it’s about revitalizing your dining space and adding your personal touch. Now, your next step is to choose your favorite stain or paint color and get started on making your dining set a true centerpiece!
Frequently Asked Questions
What if my table has deep gouges or dents?
For deeper imperfections, you’ll want to use wood filler. Apply it generously into the gouge or dent, smoothing it as much as possible. Let it dry completely according to the product instructions, and then sand it flush with the surrounding wood before proceeding to your chosen finish.
How long does it take to refinish a dining set?
The total time can vary greatly depending on your table’s size, the number of chairs, and the condition of the existing finish. Plan for at least a full weekend, and potentially more if you’re new to the process or need multiple coats of stain and sealant.
Can I refinish my dining set outdoors?
Yes, refinishing outdoors is often ideal! It provides excellent ventilation for fumes and makes cleanup easier. Just be sure to choose a calm, dry day and protect your project from dust, insects, and direct sunlight while finishes are wet.
Do I really need to sand down to bare wood?
Yes, sanding down to bare wood is generally recommended for the best adhesion of your new stain or paint. If you skip this step, your new finish might not adhere properly, leading to peeling or an uneven look. Progress through sandpaper grits for a smooth surface.
How many coats of sealant should I apply to a dining table?
For a dining table that experiences a lot of wear and tear, it’s wise to apply at least two to three thin coats of your chosen sealant, like polyurethane. Allow each coat to dry completely and lightly sand between coats with very fine-grit sandpaper for maximum durability and a smooth finish.