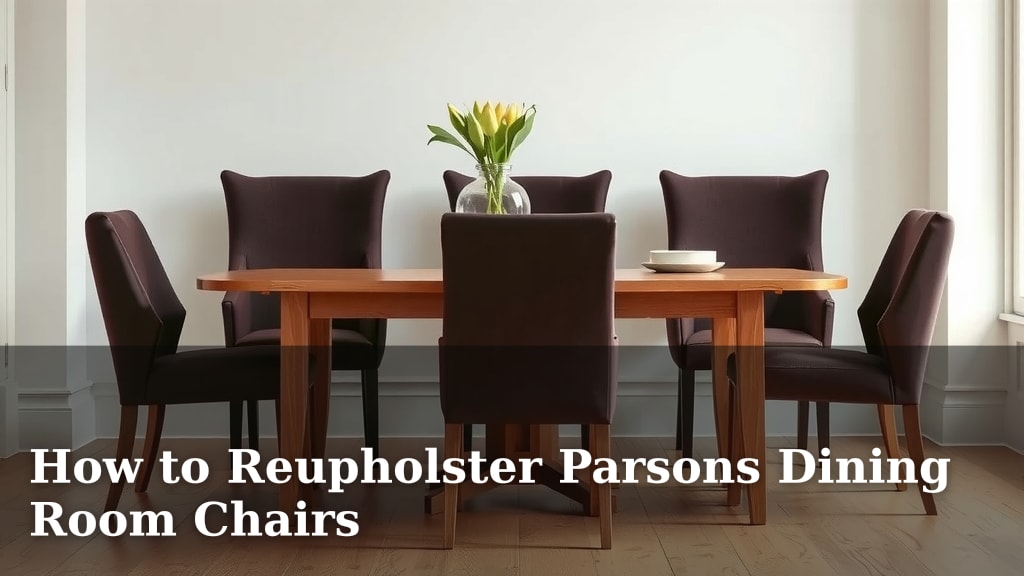
How to Reupholster Parsons Dining Room Chairs
Yes, you can absolutely reupholster your Parsons dining room chairs yourself! It’s a rewarding DIY project that can completely transform your space. With a little patience and the right tools, you can give those tired chairs a stylish new look, saving you a good chunk of money compared to buying new ones. You’ll be amazed at how much of a difference reupholstering makes.
Reupholstering Parsons chairs is a popular way to refresh your home decor. It allows you to pick fabrics that match your style and existing furniture. Many people find that by learning this skill, they can tackle other upholstery projects too, like ottomans or headboards. It’s a fantastic skill to learn and a great way to update your dining room.
- You can definitely reupholster Parsons chairs yourself.
- It’s a project that saves money and refreshes your decor.
- Choose any fabric you like to match your style.
- It’s a skill you can use for other furniture too.
Ready to give your dining chairs a facelift? We’ve broken down the process into simple steps to guide you through reupholstering your Parsons chairs from start to finish.
Giving Your Parsons Chairs a Fresh Upholstery Makeover
Reupholstering your Parsons dining chairs is a fantastic DIY project. You can save money and create a whole new look. This guide will walk you through the process step-by-step. You’ll learn how to tackle this yourself with confidence.
Gathering Your Essential Upholstery Supplies
Before you start, having all your materials ready makes the job much easier. You don’t want to be searching for tools mid-project. Gather everything you need in one place.
Choosing the Right Fabric
This is your chance to get creative! You can pick any fabric that suits your style and dining room decor. Think about durability and cleaning, especially if you have kids or pets. Some popular choices include cotton blends, linen, or even outdoor fabrics for extra toughness.
Many experts recommend fabrics with a higher rub count for dining chairs. This means they can withstand more wear and tear. A rub count of 15,000 or higher is generally considered good for heavy use (National Home Decorators Association).
Essential Tools and Materials Checklist
You’ll need a few key items to get the job done right:
- Your chosen upholstery fabric
- New foam padding (if needed)
- Heavy-duty staple gun and staples
- Staple remover or flathead screwdriver
- Scissors or a rotary cutter and mat
- Measuring tape
- Utility knife or strong scissors
- Phillips head screwdriver
- Optional: Spray adhesive, piping/cording, upholstery tacks
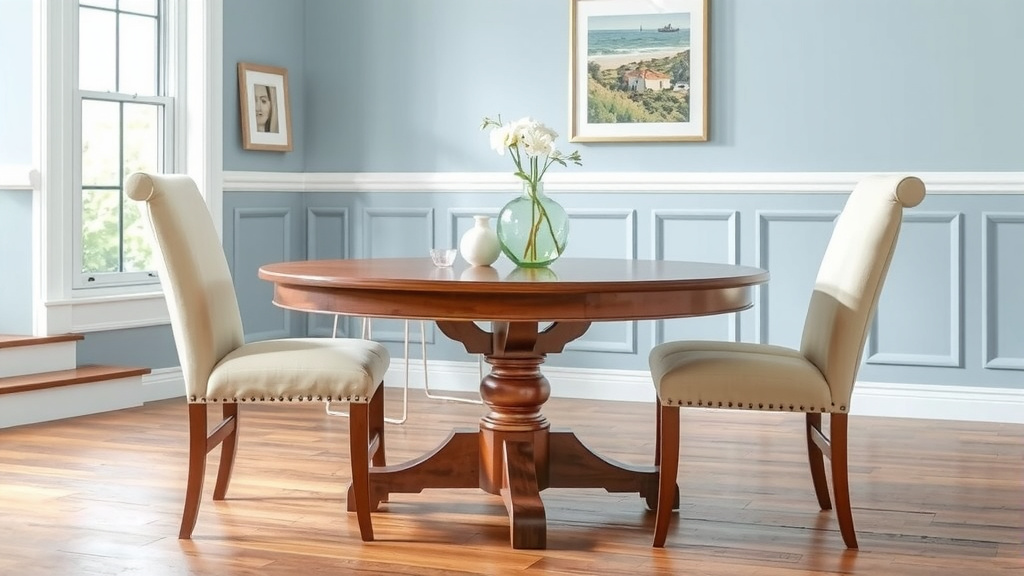
Step-by-Step Guide to Reupholstering Your Chairs
Let’s get started on transforming your dining chairs. Taking your time here will lead to a much cleaner finish.
Step 1: Disassemble the Chair Seat
First, turn the chair upside down on a protected surface. You’ll likely find screws holding the seat cushion to the chair frame. Use your screwdriver to remove these. Keep the screws in a safe place, like a small baggie.
Step 2: Remove the Old Fabric and Padding
Once the seat is free, you’ll see the old fabric attached with staples. Use your staple remover or a flathead screwdriver to carefully pry out all the old staples. It might take some effort. Try not to damage the wood frame. If the foam is compressed or damaged, it’s time to replace it.
Dealing with Stubborn Staples
Sometimes staples are deeply embedded. You can gently work your staple remover under the staple, lifting as you go. If a staple head breaks off, a pair of pliers can help pull out the remaining piece. We found that a little wiggling goes a long way.
Step 3: Measure and Cut Your New Fabric
Lay your old fabric onto your new fabric, or measure the seat dimensions. You want enough fabric to wrap around the edges with about 3-4 inches of overlap on each side. This extra fabric is key for a neat finish.
We found that adding an extra inch or two to your measurements is a safe bet. It’s better to have a little too much fabric than not enough. Smooth out your new fabric before cutting.
Step 4: Attach the New Fabric
Place your new fabric right side down on your work surface. Center the chair seat (wood side down) on top of the fabric. Start by pulling the fabric taut over one edge and securing it with a few staples from your staple gun. Don’t go all the way around yet.
Stapling Techniques for a Smooth Finish
Work your way around the seat, pulling the fabric smoothly and stapling as you go. Fold the corners neatly like you’re wrapping a present. This is important for a professional look. Ensure the fabric is tight and wrinkle-free before adding more staples. You want it snug, like a drum.
Many upholstery guides suggest stapling opposite sides first. This helps distribute the tension evenly. Keep pulling the fabric taut to avoid loose spots. We recommend placing staples about 1-2 inches apart for a secure hold.
Step 5: Reassemble the Chair Seat
Once the fabric is securely stapled all the way around, trim any excess fabric. Be careful not to cut too close to the staples. Place the newly upholstered seat back onto the chair frame. Secure it with the screws you removed earlier.
Troubleshooting Common Issues
What if your fabric isn’t quite right? Or maybe you have a few loose spots? Don’t worry, it happens! If you notice puckering, carefully remove the staples in that area and re-stretch the fabric. For minor wrinkles, sometimes a bit more tension during stapling can fix it.
We’ve found that patience is your best friend here. If a staple doesn’t hold, just add another. If a seam looks off, it’s often fixable by re-stapling. Many people find this process gets easier with practice.
A Quick Summary of Key Steps
To recap the main actions you’ll take:
- Remove the old seat.
- Strip off the old fabric and staples.
- Measure and cut your new fabric.
- Attach the new fabric, stretching it tightly.
- Reassemble the chair seat to the frame.
Follow these steps, and you’ll have beautifully reupholstered Parsons chairs before you know it!
Conclusion
You’ve now learned the essential steps to reupholster your Parsons dining chairs. It’s a DIY project that brings a fresh look to your home and saves you money. Remember to gather your supplies and take your time with each step, especially when stretching and stapling the new fabric. Don’t be afraid to pull out staples and try again if something doesn’t look quite right. Your beautifully updated chairs are just a few hours of work away. Start your project this weekend and enjoy your refreshed dining space!
Frequently Asked Questions
How much fabric do I need to reupholster one Parsons chair?
For a standard Parsons chair, we found that 1 to 1.5 yards of upholstery fabric is usually sufficient. Always measure your chair’s seat dimensions and add at least 6 inches all around for wrapping and stapling. It’s better to have a little extra fabric than to run short.
Can I reupholster a Parsons chair without removing the seat from the frame?
While it might seem quicker, we strongly advise against it. Removing the seat allows you to easily access and properly staple the fabric underneath. Trying to staple around the frame edge will result in a less professional and durable finish. Disassembling is key for a clean look.
What is the best type of fabric for dining chairs?
For dining chairs, durability and ease of cleaning are important. We recommend performance fabrics like Sunbrella or Crypton, which are stain and fade-resistant. High-quality cotton blends or sturdy linens are also good choices, especially if they have a high rub count (15,000+).
My new fabric looks loose or has wrinkles. What should I do?
Wrinkles and looseness usually mean the fabric wasn’t pulled taut enough. Carefully remove the staples from the affected area using your staple remover. Re-stretch the fabric firmly across the seat, ensuring it’s smooth before re-stapling. Pay close attention to the corners for a neat fold.
How can I get a smooth finish on the corners of my reupholstered chair?
Neatly folding the corners is like wrapping a gift. You’ll want to fold the fabric at the corner on the underside of the seat, creating a crisp edge. Then, pull the fabric taut on the adjoining sides and staple securely. Consistent tension here prevents bulkiness and ensures a professional appearance.

![7 Best Dining Chairs For Elderly [2026]](https://seatvit.com/wp-content/uploads/2026/06/7-best-dining-chairs-for-elderly-2026-featured-768x432.jpg)