How to Cover Dining Room Chairs With Arms
Yes, you can absolutely cover dining room chairs with arms. It’s a fantastic way to refresh your dining space without buying new furniture. With the right approach, you can achieve a professional-looking finish that perfectly matches your style.
Giving your existing chairs a facelift can save you money and be surprisingly fun. We found that many people worry about tackling upholstered furniture. But covering chairs with arms just takes a bit of patience and the right technique. You’ll be surprised at how much difference a new fabric can make.
- Measure your chair carefully before buying fabric.
- Choose a durable fabric that can withstand frequent use.
- A staple gun is your best friend for securing fabric.
- Don’t forget to factor in the arms – they need special attention.
Ready to transform your dining room? Let’s walk through exactly how to cover your dining room chairs with arms, step by step.
Revitalizing Your Dining Chairs: A Step-by-Step Guide
Transforming your dining room chairs with new fabric is a smart, budget-friendly project. You might think covering chairs with arms is a daunting task. But with a little patience and the right tools, you’ll be amazed at the results. We’ve broken down the process to make it manageable, even for beginners.
Gathering Your Supplies
Before you start, make sure you have everything ready. This prevents interruptions and keeps your workflow smooth. Having all your materials on hand is key to a successful upholstery project.
Essential Tools and Materials
You’ll need a few specific items to get the job done right. These aren’t overly complicated, but they are important.
- Fabric: Choose a durable fabric suitable for upholstery. Think about your lifestyle. Do you have kids or pets? A washable and stain-resistant fabric might be a wise choice. Many experts recommend fabrics like cotton blends, canvas, or performance fabrics for dining chairs (The Spruce).
- Staple Gun: A heavy-duty staple gun is essential for securing the fabric. You can find electric or manual versions. An electric one can make the job much faster.
- Staples: Make sure you have plenty of staples that fit your staple gun.
- Scissors: Sharp fabric scissors are needed for clean cuts.
- Measuring Tape: Accurate measurements are crucial for ordering the right amount of fabric.
- Screwdriver: You’ll need this to remove chair legs and any existing upholstery.
- Pliers: Useful for pulling out old staples.
- Optional: Piping or Trim: For a more finished look, consider adding piping or decorative trim.
Choosing the Right Fabric
The fabric you select sets the tone for your entire dining room. Consider the durability and maintenance requirements. High-traffic areas like dining rooms benefit from robust materials. We found that performance fabrics often resist spills and wear quite well.
Durability and Style Considerations
Think about how often your chairs are used. For everyday dining, choose a fabric that’s tough and easy to clean. If your dining room is more for special occasions, you might opt for something more delicate. Patterns can hide minor stains, which is a nice perk.
Preparing Your Dining Chairs
Proper preparation ensures a smooth upholstery process. Don’t skip these crucial steps.
Disassembling the Chair
First, you’ll want to take your chairs apart as much as possible. This makes them easier to manage and allows for a neater finish. You’ll typically need to remove the seat and the backrest from the chair frame.
- Remove Legs: Unscrew the chair legs. Store them safely so you don’t lose them.
- Detach Cushions: If the seat and back are separate cushions, remove them. If they are attached, you’ll work with them as one piece.
- Remove Old Fabric: Carefully pull off the old fabric. Use pliers to remove any remaining staples. This gives you a clean surface to work with.
Cleaning and Repairing
Now is the perfect time for any necessary repairs. Check the chair frame for any loose joints or damage. Clean the frame thoroughly. A clean chair is the foundation for beautiful new upholstery.
Upholstering the Seat Cushion
The seat is often the most straightforward part of the chair to cover. You’ll want to achieve a smooth, taut finish.
Cutting Your Fabric
Lay your old seat cushion or the chair base on your fabric. Leave at least 4-6 inches of fabric extra all around. This extra fabric is called the “bleed” and is essential for stapling. Cut the fabric carefully.
Securing the Fabric
Place the cushion face down on the fabric. Start stapling in the center of one side. Pull the fabric taut across to the opposite side and staple there. Continue this process, working from the center outwards to each side. This method helps prevent wrinkles and ensures an even tension.
For the corners, you’ll need to create neat pleats. Fold the excess fabric into a clean triangle or a series of folds and staple them down securely. Aim for a smooth, drum-tight finish. We found that making a few test staples first can help you get the tension just right.
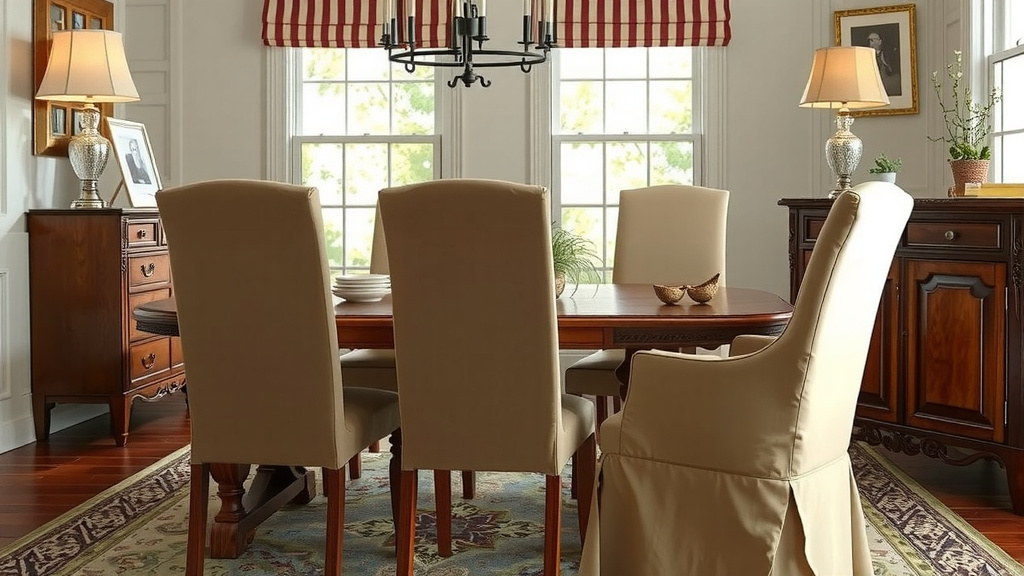
Tackling the Chair Back and Arms
This is where chairs with arms require a bit more finesse. The arms and the back panel need careful attention to look professional.
Covering the Chair Back
Similar to the seat, measure and cut your fabric, allowing extra for stapling. Start by stapling the fabric at the top center of the backrest. Pull it taut and staple at the bottom center. Then work your way to the sides, maintaining even tension. Watch out for any curves or seams; these might require small pleats or darts.
The Art of Covering Arms
Chair arms can be tricky. Often, they are padded and curved. You might need to cut the fabric into sections for the arms. Start by covering the top and front of the armrest first. Pull the fabric smoothly over the padding and staple underneath, where it won’t be visible.
Dealing with Curves and Seams
For rounded armrests, you’ll likely need to make small, neat pleats. Cut small slits in the fabric around tight curves to help it lay flat. Then, carefully staple these sections underneath the arm. If your arms have a distinct edge, you might want to wrap the fabric around it, creating a clean line.
Attaching New Fabric to the Underside
Once the seat, back, and arms are covered, you’ll want to finish the underside of the seat. Cut a piece of fabric to fit the bottom. Fold the raw edges under and staple it securely. This creates a clean, professional finish. Many people also use a dust cover fabric (cambric) here to hide the staples and raw edges.
Reassembly and Final Touches
With all the pieces newly upholstered, it’s time to put your chairs back together.
- Reattach the seat and back cushions to the chair frame.
- Screw the chair legs back on securely.
- Give your newly covered chairs a good look-over. Trim any stray threads.
Take a step back and admire your work! You’ve successfully transformed your dining chairs. It’s a satisfying project that adds a personal touch to your home.
Quick Checklist for Success
- Measure twice, cut once!
- Choose durable, easy-to-clean fabric.
- Use a heavy-duty staple gun.
- Pull fabric taut for a wrinkle-free finish.
- Neatly fold and staple excess fabric on corners and curves.
- Ensure all staples are fully seated.
Conclusion
You’ve got this! Covering your dining room chairs with arms is a rewarding project. It transforms your space and showcases your personal style. Remember to measure carefully and choose a durable fabric. Don’t shy away from the arms; a little extra attention there makes a big difference. With patience and the right tools, you’ve created a fresh look for your dining room. Your next step is to pick out that perfect fabric and get started on your first chair. Enjoy your beautifully updated dining set!
Frequently Asked Questions
What’s the easiest way to staple fabric on chair arms?
For chair arms, it’s often best to start by covering the top and front surfaces. Pull the fabric smoothly over any padding and staple underneath where it won’t be seen. For curves, making small pleats or even tiny slits in the fabric can help it lay flat.
How much extra fabric do I need for dining chairs with arms?
You’ll need about 4-6 inches of extra fabric, known as “bleed,” all around each piece you cut. This extra material is essential for getting a good grip and a secure staple line, especially around the curves and edges of the arms and back.
Can I cover chairs with arms without removing the old fabric?
While you can sometimes staple over old fabric, it’s not recommended for a professional finish. Removing the old fabric gives you a clean surface to work with, ensures the new fabric lies smoothly, and allows you to check for any damage to the chair frame or padding.
What if my chair arms have a lot of padding?
Padded arms require careful handling. You might need to cut your fabric into several pieces to manage the curves and bulk. Start with the most visible areas and work your way around, stapling underneath or in less conspicuous spots. Don’t be afraid to make small darts or pleats to avoid puckering.
How do I make the underside of the seat look neat?
After covering the top of the seat, you’ll want to finish the bottom. Cut a piece of fabric to size, fold the raw edges under neatly, and staple it securely to the chair’s frame. Some people also use a thin cambric or dust cover fabric here to hide all the staples and raw edges for a truly finished look.