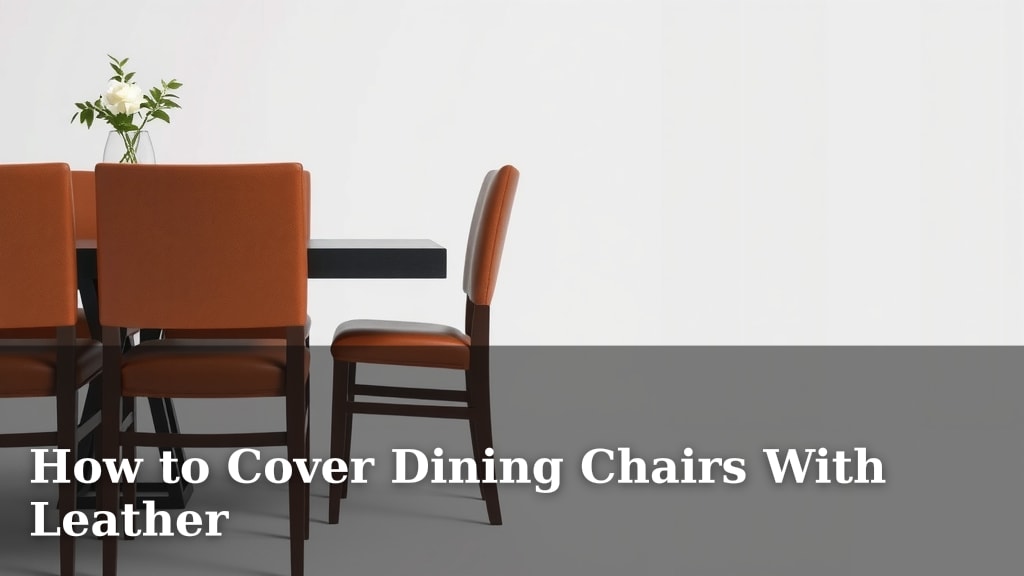
How to Cover Dining Chairs With Leather
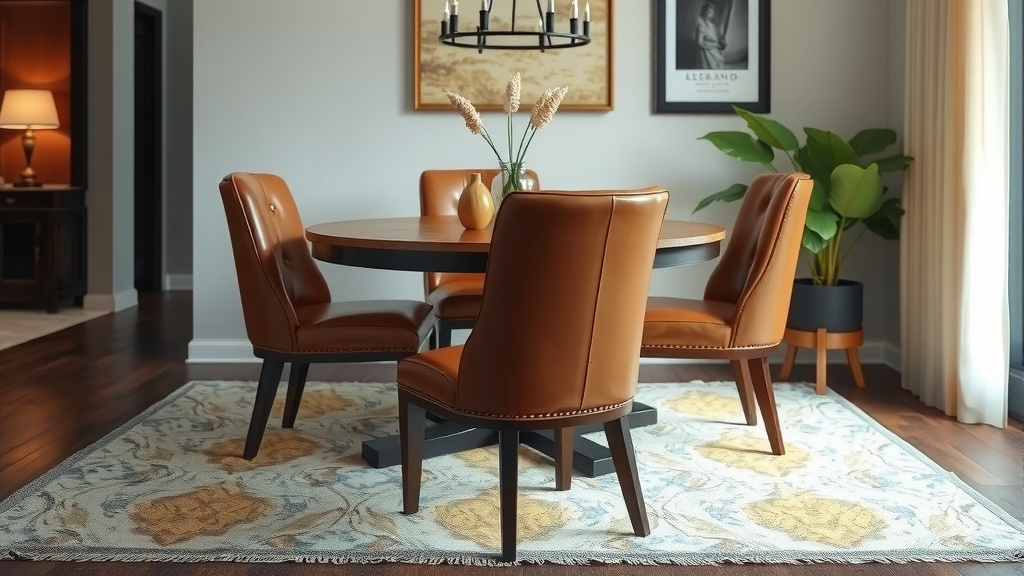
Yes, you can absolutely cover your dining chairs with leather! It’s a fantastic way to update their look and add a touch of luxury and durability. With the right tools and a little patience, you can transform your worn-out chairs into stylish centerpieces.
Leather upholstery can give your dining area a sophisticated feel. It’s known for being long-lasting and easy to clean, making it a practical choice for busy homes. Many people find it’s a worthwhile project for a fresh dining room vibe.
- Gather your supplies: leather fabric, staples, staple gun, scissors, and a flathead screwdriver.
- Remove the old fabric and padding from your chair seat.
- Cut the leather to size, allowing for overlap.
- Stretch the leather tightly over the seat and secure with staples.
- Trim any excess fabric.
- Reattach the seat to the chair frame.
Let’s walk through exactly how to cover your dining chairs with leather, step by step.
Giving Your Dining Chairs a Leather Makeover
You’re ready to give your dining chairs a fresh, sophisticated look. Covering them with leather is a fantastic choice! It’s a project that can transform your dining space. You can add a touch of luxury and durability with this material. Many people find it’s a worthwhile project for a renewed dining room vibe. Let’s get those chairs looking amazing.
Understanding Your Leather Choices
Before you start cutting, let’s talk about the kind of leather you’ll use. This choice impacts the look, feel, and how easy the project will be. You’ll want something that’s both beautiful and practical for a dining setting.
Types of Leather for Upholstery
There are several options when it comes to leather fabric for your chairs. Understanding the differences will help you pick the best one for your needs and budget. It’s like choosing the right paint color – it really sets the tone.
Genuine Leather
This is often what people think of first. Genuine leather is made from the hide of animals, usually cows. It’s known for its natural beauty and strength. It can develop a lovely patina over time, meaning it gets better with age.
Faux Leather (Vinyl or PU Leather)
Faux leather is a great budget-friendly alternative. It mimics the look of real leather but is made from synthetic materials. It’s often easier to clean and more resistant to stains. This can be a big plus for dining chairs that see a lot of action.
Bonded Leather
This type is made from leather scraps that are shredded and then bonded together with a polymer. It’s generally the least expensive option. However, it may not be as durable as genuine or high-quality faux leather.
Gathering Your Essential Tools and Materials
Having everything ready before you start is key to a smooth process. Think of it like gathering ingredients before you bake. This will save you time and frustration later on.
What You’ll Need
- Leather Fabric: Enough to cover all your chair seats, with a little extra for mistakes.
- Heavy-Duty Staple Gun: Look for one designed for upholstery.
- Staples: Make sure they are the right size for your staple gun.
- Sharp Scissors or Rotary Cutter: For precise cuts.
- Flathead Screwdriver or Upholstery Pry Tool: To remove old staples and fabric.
- Utility Knife: For trimming excess fabric.
- Optional: New Foam Padding: If your old padding is worn out.
- Optional: Spray Adhesive: To secure padding or fabric edges.
Preparing Your Dining Chair Seats
This step is where we get down to business. You need to prepare the chair base so you have a clean surface to work on. This ensures the new leather will lie flat and look its best.
Removing the Old Upholstery
Most dining chair seats are attached with staples. You’ll want to carefully remove the old fabric and any padding.
Start by flipping the chair seat upside down. You’ll see the fabric stretched over the seat base and secured with staples. Use your flathead screwdriver or pry tool to gently lift the edges of the old fabric. Work your way around, loosening it. Once the fabric is loose, you can start pulling out the staples. Many experts say to work slowly and carefully to avoid damaging the chair frame (DIY Network).
If there’s padding, remove that too. You might want to replace it if it’s flattened or torn. New padding can make the seat much more comfortable.
Cleaning the Chair Frame
Once everything is removed, take a moment to clean the chair frame. Wipe away any dust, dirt, or old adhesive. A clean surface helps the new leather adhere better and prevents bumps or imperfections.
Cutting and Fitting Your New Leather Fabric
This is where your chair truly starts to transform. Precision here makes a big difference in the final look. You want a smooth, tight finish.
Measuring and Cutting the Leather
Lay your leather fabric flat on a large surface. Place the chair seat base (without the padding for now, or with new padding if you’re using it) onto the leather. You need to cut the leather large enough to wrap around the edges and be stapled securely. A good rule of thumb is to add about 4-6 inches of fabric all around the seat. This extra amount gives you enough to pull the leather taut.
Use your sharp scissors or rotary cutter to make the cut. Cut in a smooth, even line. Avoid jagged edges, as these will be harder to hide.
Fitting the Leather Over the Seat
Now, place your seat base back onto the leather. Start by pulling the fabric taut over one edge and securing it with a staple. Then, pull the fabric tightly across to the opposite side and staple it firmly. Repeat this for the remaining two sides, always pulling the leather tight before stapling.
As you work, smooth out any wrinkles or puckers. You might need to adjust the tension. Research has shown that consistent tension is vital for a professional finish (Upholstery Guild).
Managing Corners and Curves
Corners can be tricky. Fold the excess fabric neatly, like wrapping a gift. Make small pleats or folds if needed to keep the fabric smooth. Trim away any bulky excess fabric before stapling the corners down securely. For rounded edges, you might need to make small snips in the fabric to help it stretch smoothly without bunching.
Securing the Leather and Finishing Touches
We’re almost there! This is the final push to get your chairs looking fantastic.
Stapling and Trimming
Continue stapling around the entire perimeter of the seat, ensuring the leather remains taut. Space your staples about 1-2 inches apart for a strong hold. Once the leather is securely stapled, use your utility knife to carefully trim away any excess fabric that’s hanging over the staples. You want a clean edge that won’t snag.
Reattaching the Seat to the Chair
With the seat covered and trimmed, it’s time to put it all back together. Carefully align the covered seat with the chair frame. Most seats have pre-drilled holes or clips that secure them. Screw or clip the seat back into place. Make sure it feels sturdy and secure.
A Quick Checklist for Success
- Remove all old fabric and staples.
- Clean the chair frame thoroughly.
- Cut leather with enough overlap.
- Pull leather taut when stapling.
- Staple evenly for a secure hold.
- Trim excess fabric for a neat finish.
Conclusion
You’ve now learned how to give your dining chairs a beautiful leather makeover! You can successfully update their look and add a touch of luxury. Remember to choose the right leather type for your needs and gather all your tools first. Taking your time with preparation and fitting will ensure a smooth process. Follow these steps, and you’ll have stunning, durable chairs you’ll love to show off. Ready to transform your dining room? Start your project this weekend and enjoy the results!
Frequently Asked Questions
How much leather fabric do I need for dining chairs?
It’s wise to buy more leather than you think you’ll need. A good rule of thumb is to add about 4-6 inches of fabric all around each chair seat. This overlap allows you to pull the leather taut and secure it without it being too short.
Is faux leather a good option for dining chairs?
Yes, faux leather is a very practical choice for dining chairs! It’s often more affordable, easier to clean spills from, and can be quite durable. Many high-quality faux leathers look and feel very similar to genuine leather, offering a great balance of style and function.
How do I get a smooth, wrinkle-free finish on my leather-covered chairs?
The key to a smooth finish is tension. Start by stapling opposite sides, pulling the leather very taut each time. As you staple around the seat, continuously smooth out any wrinkles and ensure consistent tightness. This careful tension prevents bunching and creates a professional, clean look.
Can I use a regular staple gun, or do I need a heavy-duty one?
You’ll definitely want a heavy-duty staple gun designed for upholstery work. Dining chairs often have thick wood bases, and a standard staple gun may struggle to drive staples in securely. A heavy-duty gun ensures staples penetrate deeply for a long-lasting hold.
What’s the best way to handle the corners when stapling the leather?
Corners can be the trickiest part. Think of it like wrapping a present. Fold the excess fabric neatly, creating clean pleats or folds on each corner. You might need to trim away some bulk before stapling the folded corner down firmly. This makes the corner look tidy and prevents it from bunching up.