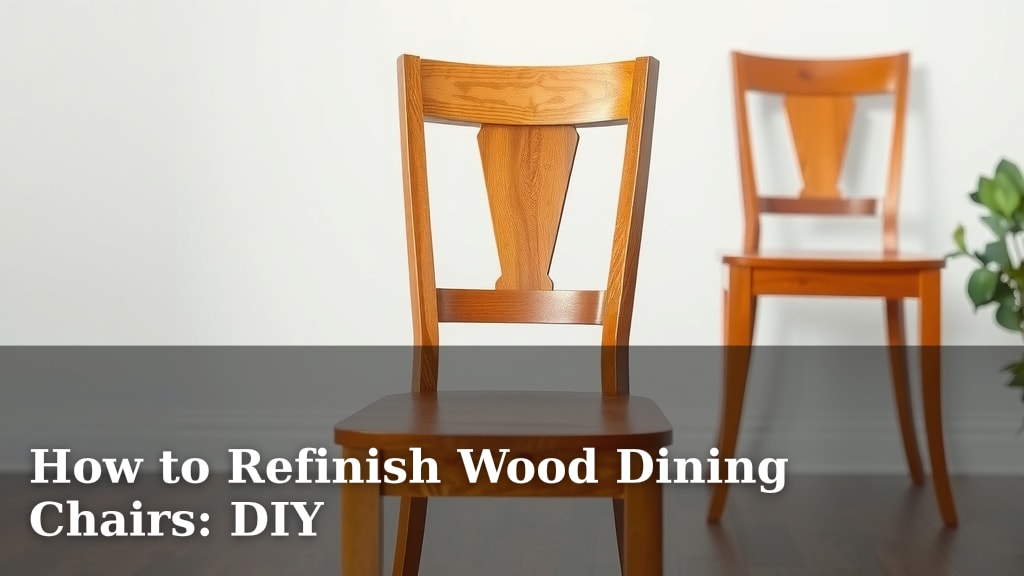
How to Refinish Wood Dining Chairs: DIY
Yes, you can absolutely refinish your wood dining chairs yourself! It’s a fantastic way to give them a fresh new look without buying new ones. With some basic supplies and a little patience, you can transform worn-out chairs into beautiful statement pieces for your dining room.
Refinishing furniture is a popular DIY project because it’s budget-friendly. You can save a lot of money compared to purchasing new or professionally restored chairs. Many people find the process rewarding, seeing their hard work pay off with stunning results that match their decor.
- Assess chair condition first.
- Gather necessary sanding and finishing supplies.
- Prepare your workspace safely.
- Sand down the old finish.
- Apply your chosen stain or paint.
- Seal with a protective topcoat.
Ready to give those dining chairs a makeover? Let’s walk through exactly how to refinish them step by step.
Giving Your Wood Dining Chairs a Fresh Start
You’re ready to tackle that DIY project! Refinishing your wood dining chairs can dramatically change your dining room’s look. It’s a great way to save money and get exactly the style you want. We’ll guide you through each step.
Preparing Your Workspace and Chairs
First things first, let’s get ready. A little preparation prevents a lot of headaches later on. Think of it like setting up a clean kitchen before you start cooking a big meal.
Choosing the Right Spot
Find a well-ventilated area. A garage or an outdoor space is ideal, especially if the weather is nice. You’ll be sanding and using finishes, which can produce dust and fumes. Covering the floor with drop cloths or old newspapers is a smart move. This protects your floor from scratches and spills. We found that using a dedicated space makes the whole process smoother.
Gathering Your Supplies
Having everything on hand before you start is key. You don’t want to stop mid-project to run to the store. Here’s what you’ll likely need:
- Sandpaper: Various grits, from coarse (like 80-100) to fine (like 180-220).
- Sanding block or orbital sander: For easier sanding.
- Paint stripper (optional): If the old finish is thick or stubborn.
- Gloves and a dust mask: For your safety.
- Cleaning rags or tack cloth: To remove dust.
- Wood filler (optional): For any gouges or dents.
- Primer (if painting): Especially important for a smooth finish.
- Wood stain or paint: Your chosen color and type.
- Brushes, rollers, or foam applicators: For applying stain/paint.
- Polyurethane or other topcoat: For protection.
Inspecting Your Chairs
Before you do anything else, inspect each chair carefully. Look for loose joints, cracks, or missing pieces. Are there any wobbly legs? Address these issues first. A sturdy chair is the foundation for a great finish. Many experts suggest using wood glue and clamps for repairs. Let them dry completely. This ensures your hard work won’t be undone by a wobbly leg later.
The Sanding Process: Removing the Old Finish
Sanding is probably the most labor-intensive part. But it’s absolutely essential for a smooth, beautiful result. This step removes the old paint or varnish. It also preps the wood for its new look.
Starting with Coarse Grit
Begin with a coarser grit sandpaper, like 80 or 100. This will quickly remove the bulk of the old finish. Always sand in the direction of the wood grain. This helps prevent visible scratches. If you’re using an orbital sander, keep it moving. Don’t let it sit in one spot for too long. Many sources advise against sanding against the grain; it can cause permanent damage.
Moving to Finer Grits
Once the old finish is gone, switch to a medium grit, like 120 or 150. This smooths out any marks left by the coarser paper. Finally, use a fine grit, such as 180 or 220. This creates a silky-smooth surface. Your goal is a surface that feels soft and even to the touch. This smooth surface is what your new stain or paint will grab onto.
Cleaning Up Dust
After sanding, dust is your enemy. Use a vacuum cleaner with a brush attachment to get into crevices. Then, wipe the entire chair down with a damp cloth. A tack cloth is even better for picking up fine dust particles. Ensure the chair is completely dry and dust-free before moving on. Experts at the Forest Products Laboratory often mention dust control for better finishes.
Applying Your New Finish: Stain or Paint
Now for the fun part! This is where your chairs start to transform into what you envision.
Staining the Wood
If you choose to stain, apply it evenly with a brush or rag. Work in sections, wiping off any excess stain with a clean cloth after a few minutes. Always follow the direction of the wood grain. The amount of time you leave the stain on affects the color. More time usually means a darker shade. Two thin coats are often better than one thick one. This allows for more control over the final hue.
Painting Your Chairs
If painting, you’ll likely want to start with a coat of primer. Primer helps the paint adhere better and covers any remaining imperfections. Apply thin, even coats of paint. Avoid overloading your brush. Allow each coat to dry completely before applying the next. Many DIY guides recommend waiting at least 2-4 hours between coats. Multiple thin coats will give you a much smoother, more professional finish than a few thick ones.
Choosing Your Color and Type
Consider your existing dining room decor. Do you want a natural wood look, or a pop of color? Water-based stains and paints are easier to clean up. Oil-based finishes offer a more durable coating but require mineral spirits for cleanup. We found that water-based options are generally more forgiving for beginners.
Sealing and Protecting Your Work
The final step is crucial for durability. A protective topcoat shields your newly refinished chairs from daily wear and tear.
Applying a Protective Topcoat
Polyurethane is a popular choice for dining chairs because it’s very durable. It comes in different sheens: matte, satin, semi-gloss, and gloss. Satin or semi-gloss are often good choices for chairs, as they hide minor imperfections well. Apply thin, even coats using a good quality brush or foam applicator. Let each coat dry thoroughly, usually 24 hours, before applying the next. Lightly sanding with very fine grit sandpaper (like 220 or higher) between coats can create an even smoother finish.
Allowing Curing Time
Even after the topcoat feels dry to the touch, it needs time to fully cure. This can take several days to a couple of weeks, depending on the product. During this time, be gentle with your chairs. Avoid placing heavy objects on them or cleaning them vigorously. Proper curing ensures the finish reaches its maximum hardness. This protects your beautiful work for years to come.
Your Refinishing Checklist
Here’s a quick recap to keep you on track:
- Prep your space: Ensure good ventilation and cover the floor.
- Gather supplies: Have everything ready before you begin.
- Sand thoroughly: Work from coarse to fine grits.
- Clean up dust: A clean surface is essential.
- Apply finish: Stain or paint in thin, even coats.
- Seal and cure: Protect your work with a durable topcoat.
Conclusion
You’ve now got the roadmap to giving your wood dining chairs a stunning DIY makeover! We walked through preparing your space and chairs, the essential sanding steps, and applying your chosen stain or paint. Remember, patience is your best tool. Taking your time with each step, especially cleaning and allowing coats to dry, leads to a professional-looking finish.
Your newly refinished chairs will be a source of pride. Now, your next step is to gather your supplies and pick a weekend to bring your dining room vision to life!
Frequently Asked Questions
How long does it take to refinish dining chairs?
Refinishing dining chairs typically takes anywhere from 8 to 16 hours of active work, spread over several days. This doesn’t include drying and curing times. You’ll need to account for multiple sanding stages, painting or staining coats, and sealing. Planning for a full weekend or breaking it down over a week is often best.
Can I skip sanding if my chairs are already painted?
While it’s tempting to skip sanding, it’s generally not recommended. Even if your chairs are painted, sanding with a medium-grit paper helps the new finish adhere properly. If you skip this step, your new paint or stain might chip or peel much sooner.
What’s the best way to clean up dust after sanding?
Removing sanding dust is critical for a smooth finish. Start by vacuuming thoroughly with a brush attachment to get into crevices. Follow up with a damp cloth to pick up finer particles. For an even better result, use a tack cloth right before applying your first coat of primer or stain.
How many coats of topcoat do I really need?
For dining chairs, which see a lot of use, 2 to 3 thin coats of a durable topcoat like polyurethane are usually sufficient. Allow each coat to dry completely before applying the next. Lightly sanding with very fine grit sandpaper between coats can help achieve a smoother final surface.
Can I refinish chairs with veneer?
Yes, you can refinish chairs with veneer, but you need to be extra careful during sanding. Veneer is a thin layer of wood, so it can sand through quickly if you’re not gentle. Use finer grit sandpaper and apply light pressure. An orbital sander might be too aggressive for veneer; hand sanding is often safer.